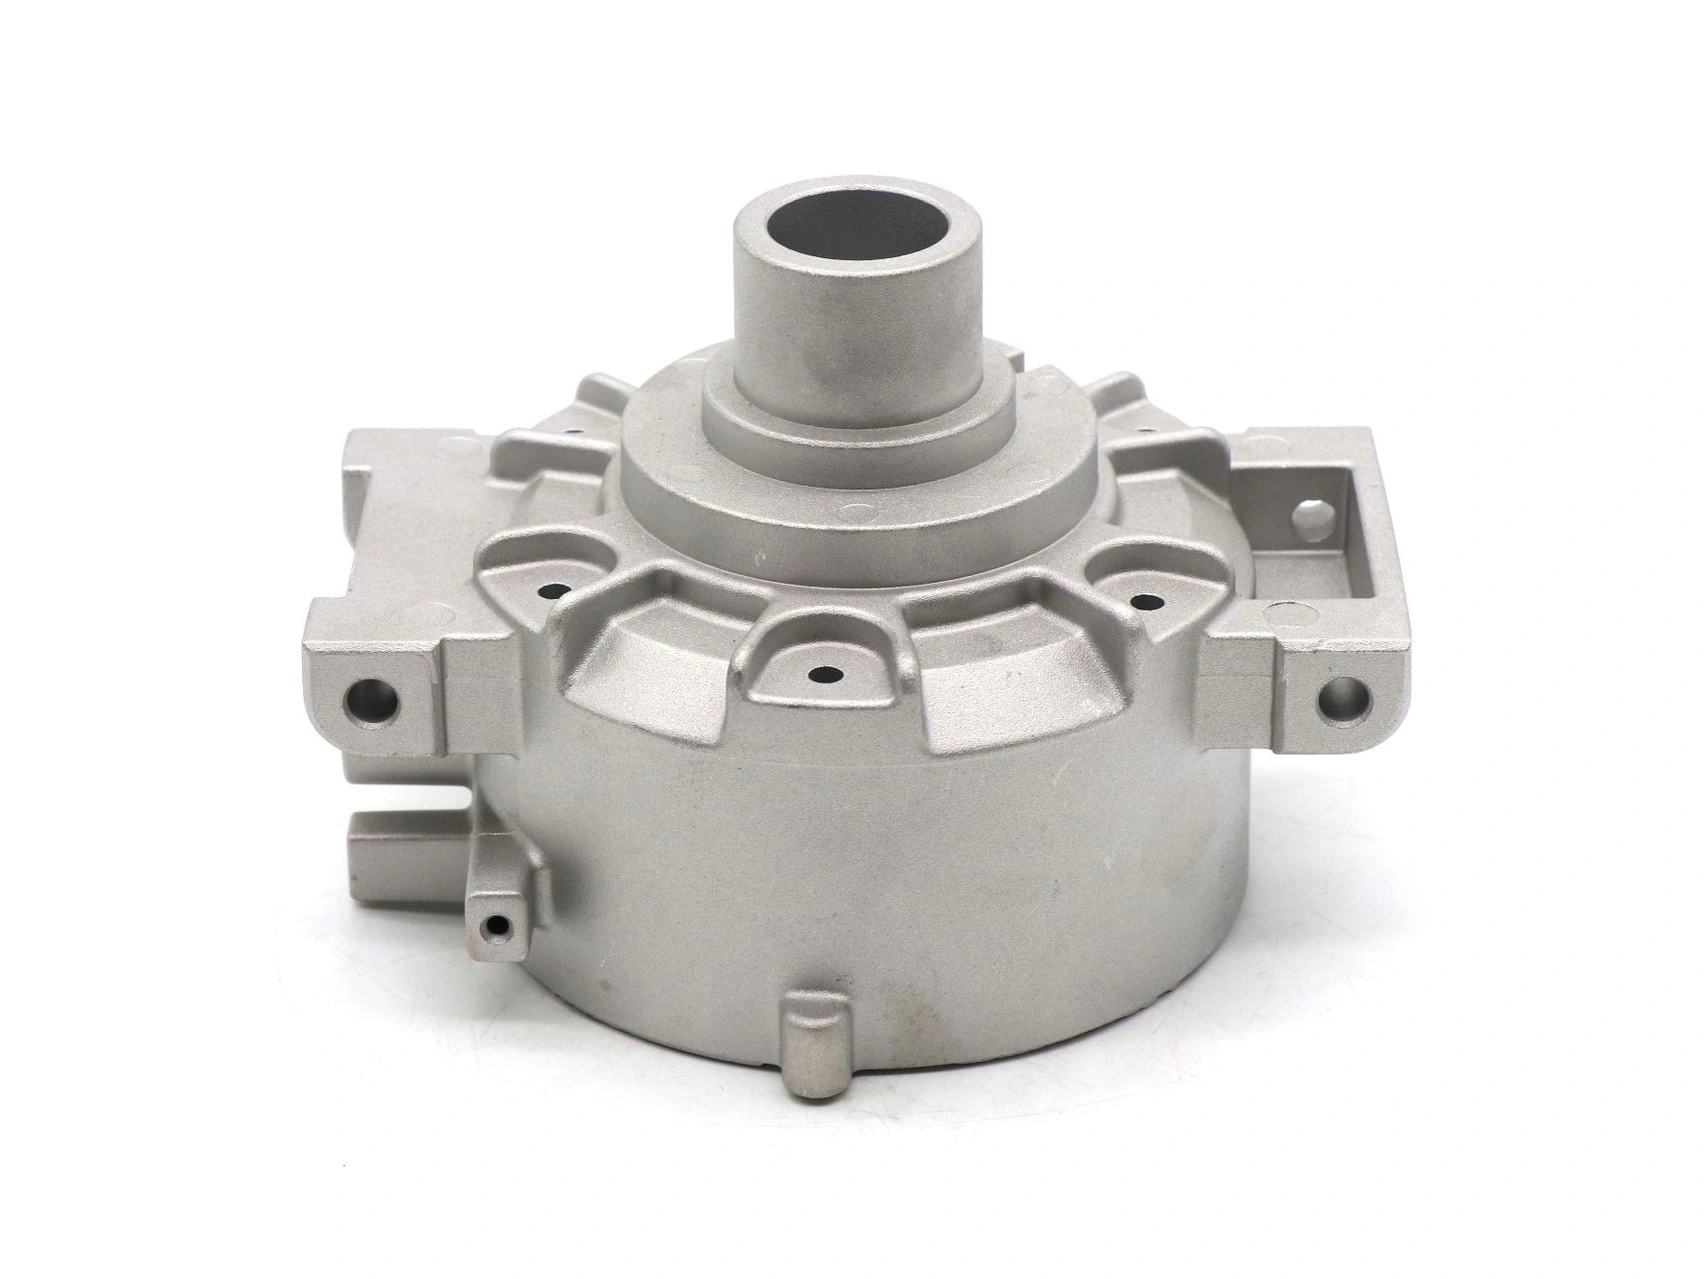
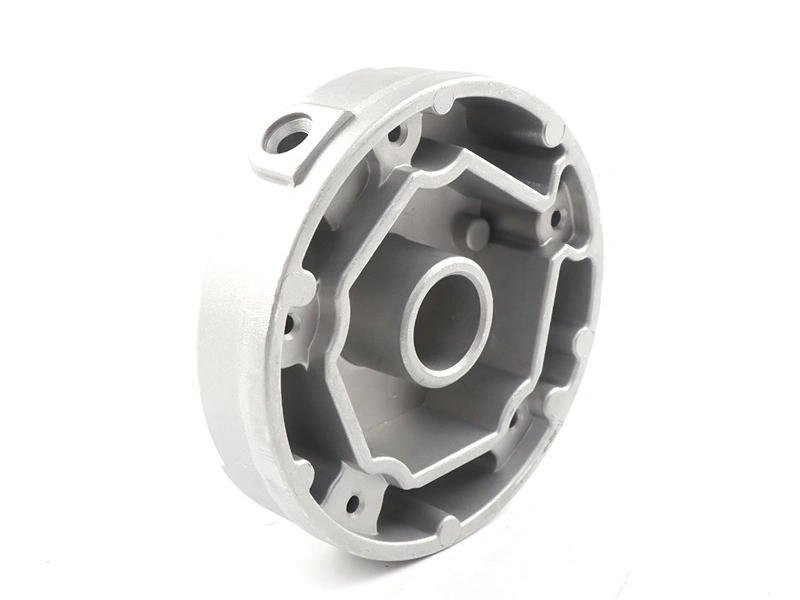
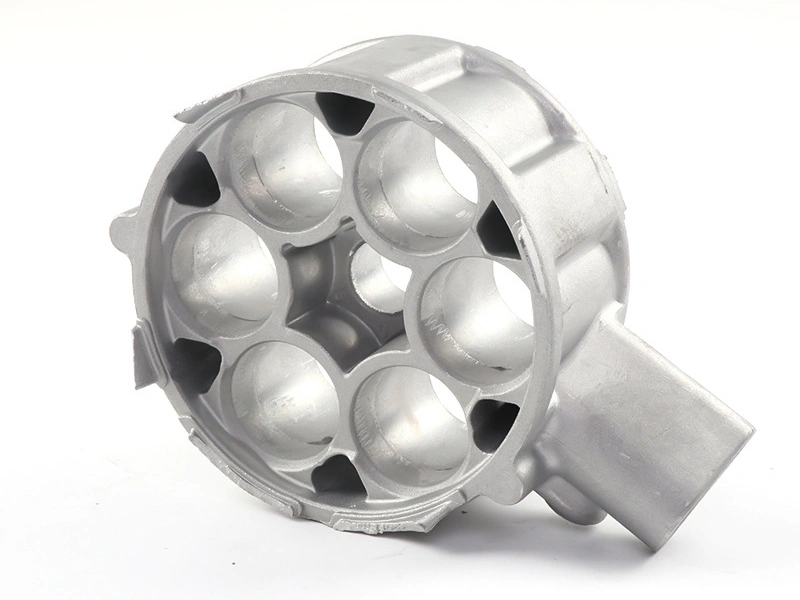
Is aluminum die casting suitable for aesthetic, consumer-facing components?
Yes, aluminum die casting can suit aesthetic, consumer-facing components when appearance is designed into the die, casting process, surface preparation, finish, handling, inspection, and packaging. It should not be selected on the assumption that every raw casting has a billet-like surface or that paint, powder, polishing, or anodizing will hide substrate defects.
Define where appearance matters
Divide the part into cosmetic classes before tooling. A front face viewed at close range needs a different standard from an underside, internal wall, heat-sink fin, machined interface, or area covered after assembly. Mark primary and secondary visible zones on the drawing and identify no-witness areas for gates, overflows, ejectors, parting lines, slides, trim, and fixtures.
Specify how the product is viewed: lighting, distance, angle, orientation, and whether the inspection occurs before or after assembly. Define color, gloss, texture, directional brushing, logo detail, edge condition, permissible flow pattern, porosity exposure, parting mismatch, and handling marks. Words such as "premium" or "Class A" need a project definition or approved sample to become inspectable.
Place tool features around the cosmetic map
The casting must be filled, vented, released, and trimmed, so witness marks cannot simply disappear. Gate and overflow locations affect flow pattern and trim. Ejectors support removal but leave local evidence. Parting and slide interfaces can show mismatch or flash. The design team should place these features where the industrial design, machining, or assembly can accept them.
Texture in the die can reduce the visual sensitivity of some broad surfaces, but it also affects draft, release, repair, and matching across inserts. Ribs and bosses behind a face can create read-through or local thermal differences. Thick-to-thin transitions can influence shrinkage and surface depression. Review both sides of every controlled face during DFM.
Understand the die-cast substrate
High-pressure metal flow can leave flow lines, cold joins, local oxide films, pores, and variations caused by die temperature or spray. Some evidence is harmless in a hidden functional zone but unacceptable after a decorative finish. Polishing may open subsurface pores. Machining can create a visibly different texture from adjacent casting skin. Blasting can unify texture while also rounding edges or revealing defects.
Set substrate acceptance before applying an expensive finish. Establish cleaning, deburring, trim, blasting or polishing, storage, and maximum handling conditions. Separate a casting defect from a preparation or finish defect during containment. Otherwise, repeated coating trials can consume time without correcting the flow, die, or trim mechanism that created the problem.
Select a finish for the product function
Surface finishing should be chosen from appearance, corrosion exposure, touch, wear, electrical contact, heat transfer, masking, dimensions, and cost. Paint and powder coating can provide color and broad coverage when the substrate is clean and prepared. They still show major sink, mismatch, trapped contamination, and edge defects, and their thickness can affect fits and grounding points.
Anodizing changes the aluminum surface itself and can provide functional or decorative effects, but die-cast alloy chemistry and casting structure can cause color or appearance variation. Qualify decorative intent on the actual alloy, die, surface preparation, and controlled zones. A result from wrought aluminum does not approve the die-cast product.
Powder coating may be suitable for durable color coverage, subject to pretreatment, rack contact, masking, cure, edge behavior, and assembly requirements. For any finish, record the full stack and processor. A color name alone does not control pretreatment, layer thickness, gloss, texture, adhesion, or repair.
Control interfaces and masked areas
Consumer parts still have functional surfaces. Bearing seats, gasket lands, electrical contacts, threaded holes, heat-transfer pads, adhesive zones, and press fits may need masking or post-finish machining. Define whether dimensions apply before or after finish. Account for coating buildup at edges and in holes, and locate rack contacts outside visible or electrical areas.
Assembly can scratch a finished casting or expose color mismatch between neighboring parts. Review tool access, fixture pads, protective films, fastener washers, insert installation, adhesive squeeze-out, and cleaning. If several visible components meet, approve them as an assembly under production lighting rather than approving isolated samples only.
Use boundary samples and measurable criteria
Appearance characteristic | Control method | Approval evidence |
|---|---|---|
Color and gloss | Defined instrument geometry plus visual review where needed | Approved production panels or parts and agreed limits |
Texture | Tool/preparation specification and controlled viewing | Signed master and acceptable boundary samples |
Flow or casting witness | Cosmetic-zone map and defect definitions | Trial parts from each relevant cavity |
Parting, ejector and trim marks | Location and height or visual boundary | Tool-layout review and finished samples |
Handling damage | Work-in-process protection and packaging standard | Packed shipment simulation and final inspection |
A signed golden sample helps, but one ideal sample does not define an acceptance range. Keep acceptable and reject boundary samples when visual judgment is unavoidable. Record alloy, cavity, process state, preparation, finish batch, and approval date so a later comparison uses the correct reference. Replace damaged or aged masters through controlled approval.
Qualify production, not a hand-finished showpiece
Trial parts should represent intended cavities, trim, preparation, production finish, and handling. Record any manual filling, sanding, polishing, or repair used to create a display sample. A hand-worked prototype can demonstrate industrial design intent, but it cannot establish normal production labor or yield unless that work is included in the process and quote.
Inspect the finished part after relevant environmental, adhesion, wear, cleaning, ultraviolet, or assembly tests defined by the product duty. Recheck color and surface around edges, masked zones, fasteners, and high-touch regions. Where appearance changes with casting process variation, connect finish rejects to cavity, die state, and substrate lot instead of treating them as random cosmetic events.
Prepare a cosmetic RFQ
Send the native model and drawing, annual demand, selected or candidate alloy, visible-zone map, viewing conditions, color and gloss references, texture source, witness restrictions, finish stack, masking, electrical and thermal contacts, dimensional state, logo details, assembly, cleaning, wear and corrosion duty, packaging, and acceptance samples. Include photographs only as supporting context because lighting and display can distort appearance.
An aluminum die-casting supplier should return the proposed gate, overflow, ejector, parting, slide, trim, preparation, rack, masking, and inspection approach. Aluminum is suitable for the consumer-facing component when that plan produces the approved appearance without concealing functional casting problems and can be repeated at the quoted production condition.