English

What is the standard wall thickness for aluminum die cast electronics housings?

Table of Contents
Start with the housing functions
Evaluate metal flow and tool layout
Avoid abrupt section changes
Size interfaces separately
Use a zone-based wall decision table
Prove the wall map in the final product

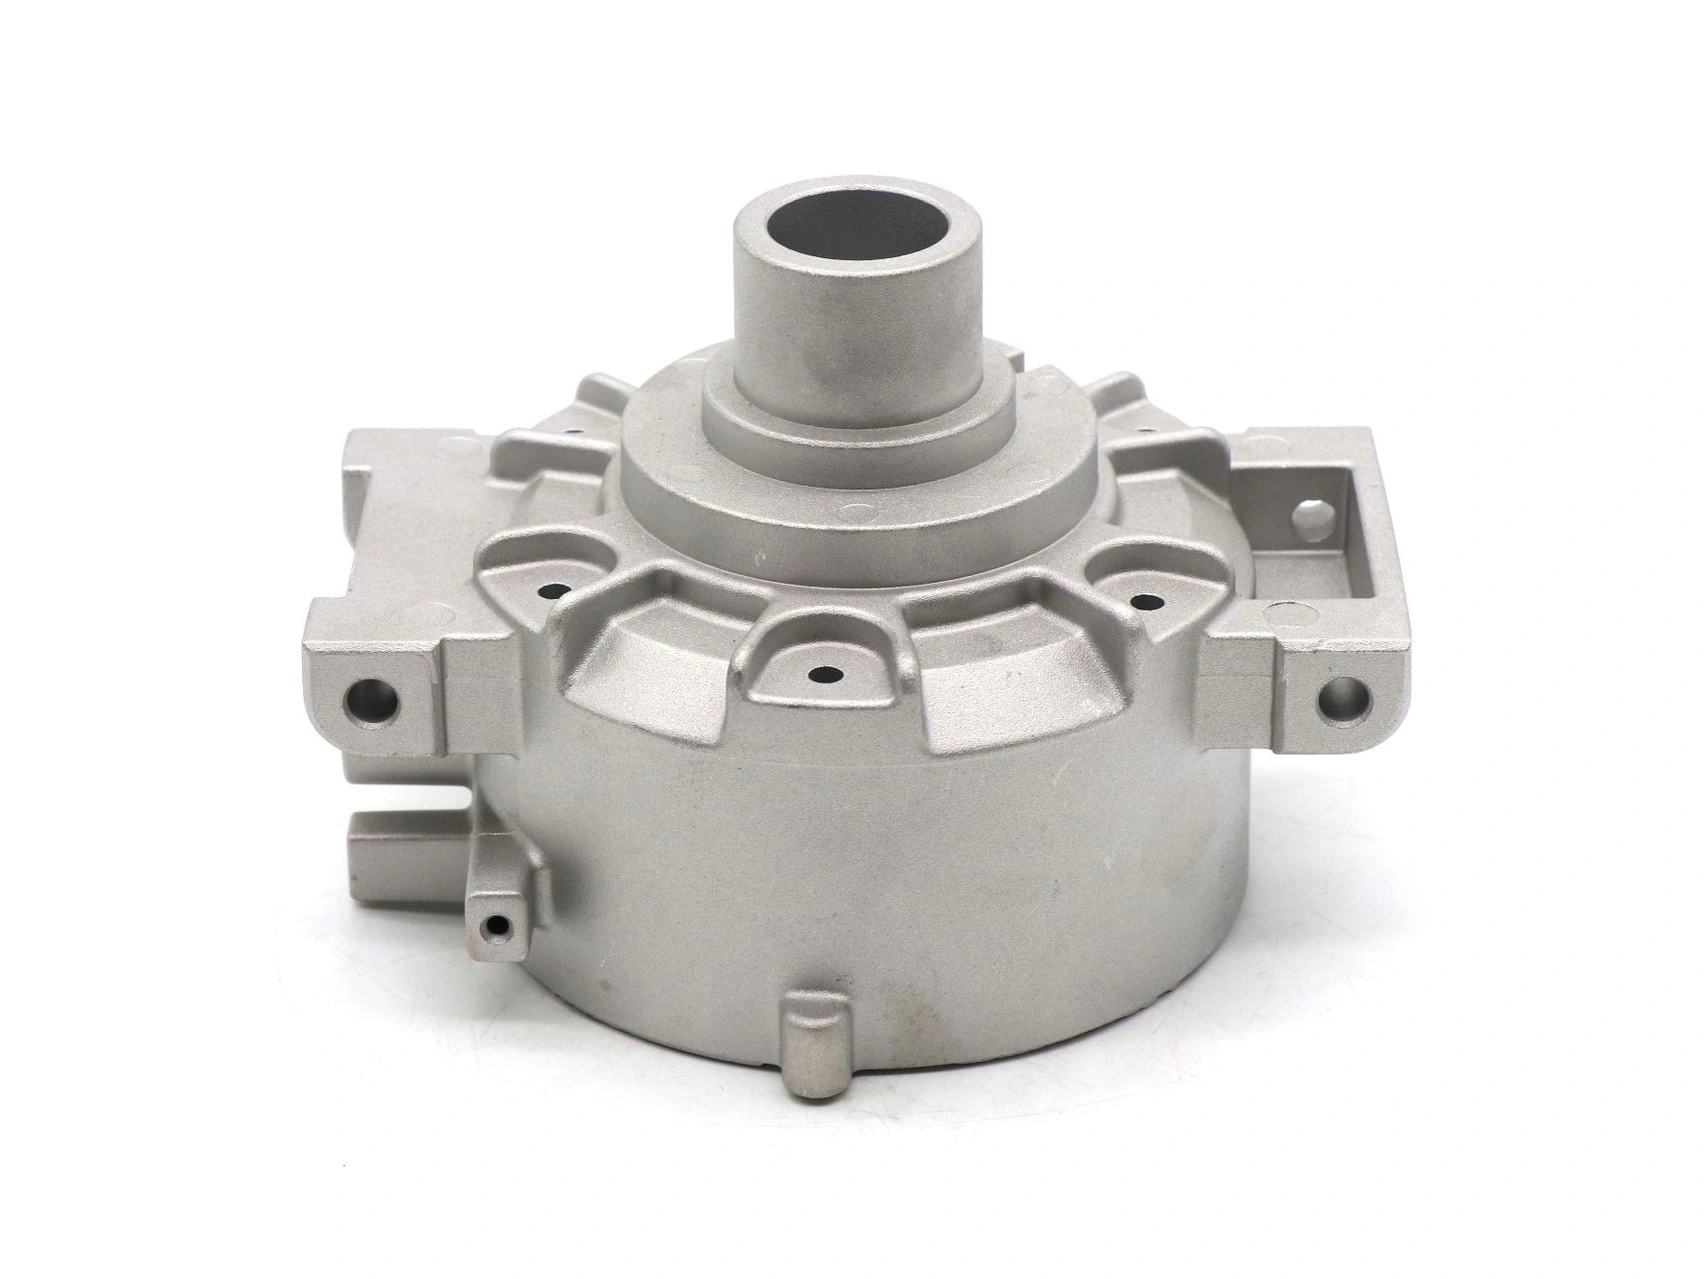
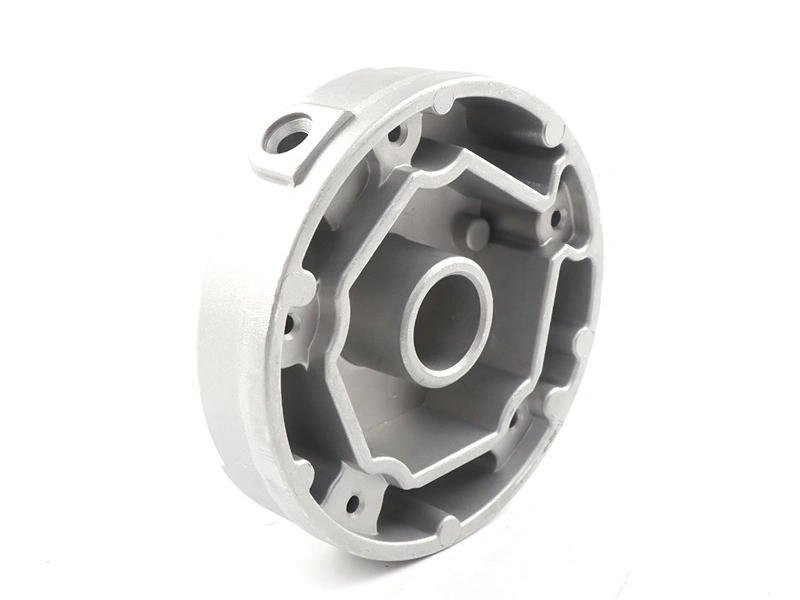
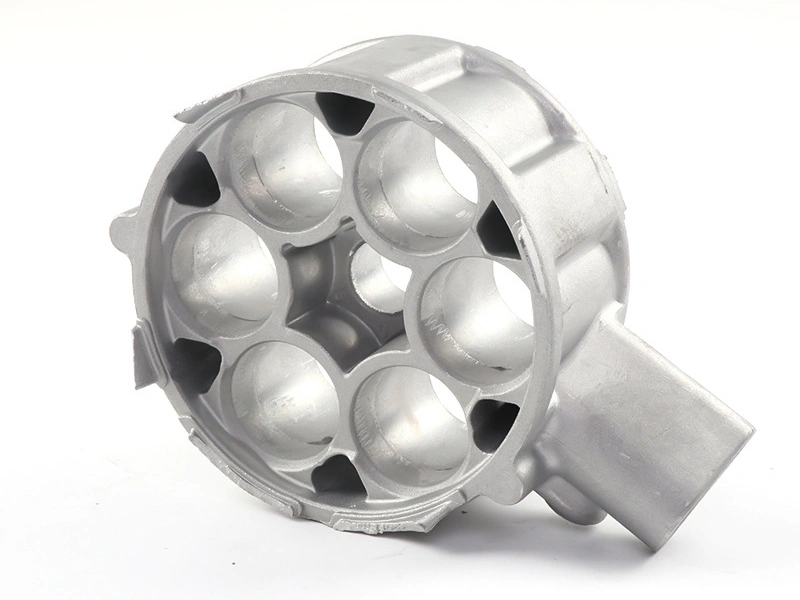
There is no universal standard wall thickness for aluminum die cast electronics housings. The correct design uses a wall map: nominal panels, local ribs, bosses, flanges, heat-spreader pads, connector walls, gasket boundaries, and machining stock are sized for the product's function and the selected alloy/tool/machine flow path. A thin region that fills during one trial is not automatically stable in serial production. Buyers should ask for a feasible range and evidence for their geometry, finish, cavities, and acceptance rather than request one catalog minimum.

Start with the housing functions

Define whether each zone carries board or battery load, holds a display, supports a connector, spreads heat, closes an EMI seam, compresses a gasket, receives a screw, guides a button, survives drop, or forms a cosmetic surface. Stiffness, local stress, flatness, touch temperature, sound radiation, and finish appearance may drive different sections.

Include product mass, drop orientations, cable loads, twist, fastener preload, battery swelling allowances, glass/adhesive stiffness, board keep-outs, thermal gradients, and use temperature. A broad speaker housing panel and a compact internal frame should not share a thickness rule.

Evaluate metal flow and tool layout

Wall feasibility depends on flow length, area and aspect ratio, alloy, gate thickness/location, runners, overflows, vents, vacuum where used, die temperature, shot profile, machine, parting, slides, ejectors, and cavity count. The last-to-fill remote corner or thin rib intersection may set the process window. Cosmetic zones may restrict gate and overflow locations that would otherwise help filling.

DFM and flow review should examine short fill, cold shuts, oxide films, gas, shrinkage, soldering, distortion, ejection, trim, and tool erosion. Simulation supports decisions but needs trial and production correlation. Validate across startup, normal cycling, restarts, cavities, alloy lots, and tool age.

Avoid abrupt section changes

Keep adjacent walls reasonably uniform and use gradual transitions where function permits. Thick screw bosses, pads, rib junctions, and lettering can create hot nodes, sink, shrinkage, flow read-through, or visible finish variation. Core heavy regions and support them with ribs only after checking tool strength, ejection, and cleanability.

Very thin broad panels can warp, oil-can, buzz, dent, or show assembly stress. Curvature, beads, ribs, edge returns, and the complete joint can improve stiffness, but ribs can print through an exterior A-surface. Assess appearance after final blasting, paint, powder, or anodize where suitable.

Size interfaces separately

Gasket flanges need enough width and stiffness to retain compression under fastener load, cover deflection, temperature, and drop. Connector walls need insertion and cable load capacity. Threaded bosses need local integrity, engagement, insert or direct-thread strategy, torque, relaxation, and service cycles. Heat pads need flatness, clamp load, and machining stock where justified.

Post-machining can establish ports, grooves, bores, datums, and thermal surfaces, but it can open pores or leave thin residual walls. Define minimum wall after all stock removal, draft, tool mismatch, casting variation, and allowed rework, not only the nominal CAD section.

Use a zone-based wall decision table

Housing zone

Dominant decision

Evidence before release

Large cosmetic panel

Fill, warp, dent, rib read-through and coating appearance

Production-intent fill/yield, final finish, assembly and drop

Screw boss or mount

Local shrinkage, thread/insert, preload and crack path

Section integrity, torque, relaxation and service cycling

Seal flange

Stiffness, surface, edge, coating and fastener spacing

Final assembly compression, aging, drop and ingress test

Heat-spreader pad

Contact resistance, flatness, mass and thermal gradient

Assembly thermal map over power and environment

Connector or button wall

Location, insertion/actuation load, wear and seal

Dimensional stack, cable/button cycles and abuse

Prove the wall map in the final product

Include acoustic and tactile effects. A broad thin wall can radiate speaker or motor excitation, buzz against a cover, or flex when a user presses a button. A heavy wall can damp one response while adding mass and storing heat. Test sound, vibration, button feel, grip deflection, and table stability with the real internal assembly and feet.

Control changes that alter the wall result. Gate or vent repair, cavity insert replacement, shot-window change, alloy/source change, deeper machining, finish buildup, boss revision, different battery or PCB, and altered fastener torque can move stiffness, fill, heat, and gaps. Define affected revalidation and update the wall map with approved product revisions.

Measure wall distribution, stock cleanup, dimensions, distortion, cosmetic quality, and cavity variation on production-intent parts. Validate assembled drop, twist, connector pull, button cycles, ingress where claimed, thermal performance, acoustic response, EMI/RF, and repair according to the product plan. Inspect hidden boss and flange damage after tests.

The RFQ should include controlled geometry, wall zones, critical functions, product loads, thermal map, cosmetic areas, finish, machining, target yield, cavities, and validation. Ask the supplier to identify high-risk fill and heavy nodes, proposed transitions, stable process window, measurement method, and any wall that needs relaxation. That produces a defensible thickness, not a generic electronics number.

Copyright © 2026 Diecast Precision Works Ltd.All Rights Reserved.