What is the typical lead time for LED lighting prototype development?
There is no defensible typical lead time for every LED lighting prototype. The schedule begins only after the prototype's purpose and inputs are clear, and it ends at a named evidence gate. A CNC housing for board fit can be much faster than a production-intent die-cast luminaire with final alloy, optics, driver, thermal interface, coating, seals, photometric tests, IP conditioning, safety review, and design corrections. Suppliers should quote a dated critical path, assumptions, queues, and approval response times rather than one unsupported number.
Define what the prototype must prove
Separate appearance, ergonomic, optical, electronics-fit, thermal, ingress, mechanical, regulatory pretest, installation, and production-process questions. One sample rarely answers all of them. A printed mockup can check form and cable routing; a machined aluminum body can support initial thermal and assembly work; soft or bridge tooling may explore casting geometry; only production-intent tooling and process can support cavity, porosity, fin fill, distortion, finish, and repeatability conclusions.
Name the exit gate: parts shipped, assembly fit approved, thermal model correlated, photometry accepted, ingress pretest passed, certification samples released, appearance master approved, tooling design frozen, or pilot build released. Lead time without that endpoint is not comparable across quotes.
Measure input maturity before starting the clock
Required inputs include controlled CAD/drawings, LED and board revision, driver, input power and controls, optics and lens, thermal loads and temperature limits, interface material, ambient/orientation/airflow, IP and environmental exposure, safety constraints, cable/gland/vent, appearance, mounting, quantity, test methods, acceptance, and approval owners. Mark open choices and due dates.
A supplier can begin DFM with incomplete data, but that is a learning task, not necessarily released execution. Changes to LED footprint, optical focal distance, driver envelope, lens bond, gasket, gland, thermal pad, finish or compliance path can invalidate finished prototype work. Use a formal input-freeze gate and state which parallel work is at risk.
Choose the fastest route that answers the question
Prototype route | Useful questions | What it cannot prove alone | Likely schedule drivers |
|---|---|---|---|
Polymer/additive mockup | Envelope, handling, installation, cable path, rough optical packaging | Aluminum thermal path, grounding, production finish, cast strength or sealing | File readiness, print route, post-process, assembly components |
CNC-machined aluminum housing | Board/interface fit, preliminary thermal, optics, seals and assembly | Die-cast alloy/porosity, fin fill, draft, ejector/parting effects and production cost | Stock, programming, setups, geometry, quantity, finish and component availability |
Prototype or bridge casting tool | Closer casting geometry and selected process learning | Full production tool life, cavity balance, cycle economics and long-run variation | Tool design/material, build, trials, corrections, machining and finish |
Production-intent die and samples | Final casting route, cavity/process evidence, complete secondary and validation builds | Stable production until pilot variation and controls are demonstrated | DFM freeze, die build, trials, correction loops, final components and tests |
Rapid prototyping should be chosen for the evidence it can produce. A fast surrogate can accelerate learning while creating false confidence if its alloy conductivity, wall distribution, surface, mass or assembly differs from production.
Build the critical path from real gates
A realistic sequence may include input audit, DFM and thermal/optical review, route selection, quotation and approval, material/tool/program preparation, prototype manufacture, machining, cleaning, finish, purchased LED/driver/optics/seals, assembly fixtures, inspection, thermal and photometric tests, ingress or environmental pretests, failure analysis, design corrections, repeat samples, stakeholder approval, and logistics. Put calendar dates and owners on each dependency.
Some work can run in parallel: sourcing optics while CNC programming, preparing test fixtures while tooling is built, or making appearance coupons while thermal parts are machined. Parallel work is safe only when its interface is stable. Track rework exposure and create stop/go decisions rather than hiding uncertainty inside an aggressive delivery promise.
Treat testing and correction as scheduled work
Thermal stabilization, photometry, power/control states, UV or corrosion conditioning, thermal cycling, vibration, ingress, adhesive cure, coating cure, and safety pretests take elapsed time and may share labs or chambers. Define sample quantity, sequence, fixtures, methods, acceptance, data review, and report format before parts arrive. A test slot is not useful if the correct LED bin, driver firmware, gasket or cable is missing.
Reserve correction loops. First hardware often reveals board contact, fin interference, optical alignment, trapped heat, cable strain, lens fogging, gasket compression, finish color, casting fill, warpage or machining issues. State who can approve tool rework, CAD change, alternate components, concessions, and retest. The schedule is more credible when it shows decision time after failure.
Distinguish prototype release from production release
A successful CNC thermal prototype does not release the die-cast production housing. Production-intent samples need final alloy, tooling/cavities, casting settings, machining, finish, interfaces, seals, fasteners, torque, electronics, optics, assembly and packaging. Correlate temperatures, mass, geometry and appearance between prototype routes, then repeat affected thermal, optical, ingress, mechanical and safety evidence.
Pilot builds add starts/stops, cavities, tool maintenance, machining tools, finish racks, operators and component lots. Establish traceability and reaction plans. The earliest prototype date and the earliest defensible production release are different milestones and should appear separately in the schedule.
Request a timing proposal that can be audited
The RFQ should state prototype purpose, route assumptions, file maturity, component status, quantities, final versus surrogate materials, machining/finish/assembly, tests, approvals, report needs, destination, and desired gate. Ask the supplier to return dated activities, inputs, customer decisions, sub-tier and lab queues, component lead items, correction allowance, expedite assumptions, evidence delivered, and exclusions.
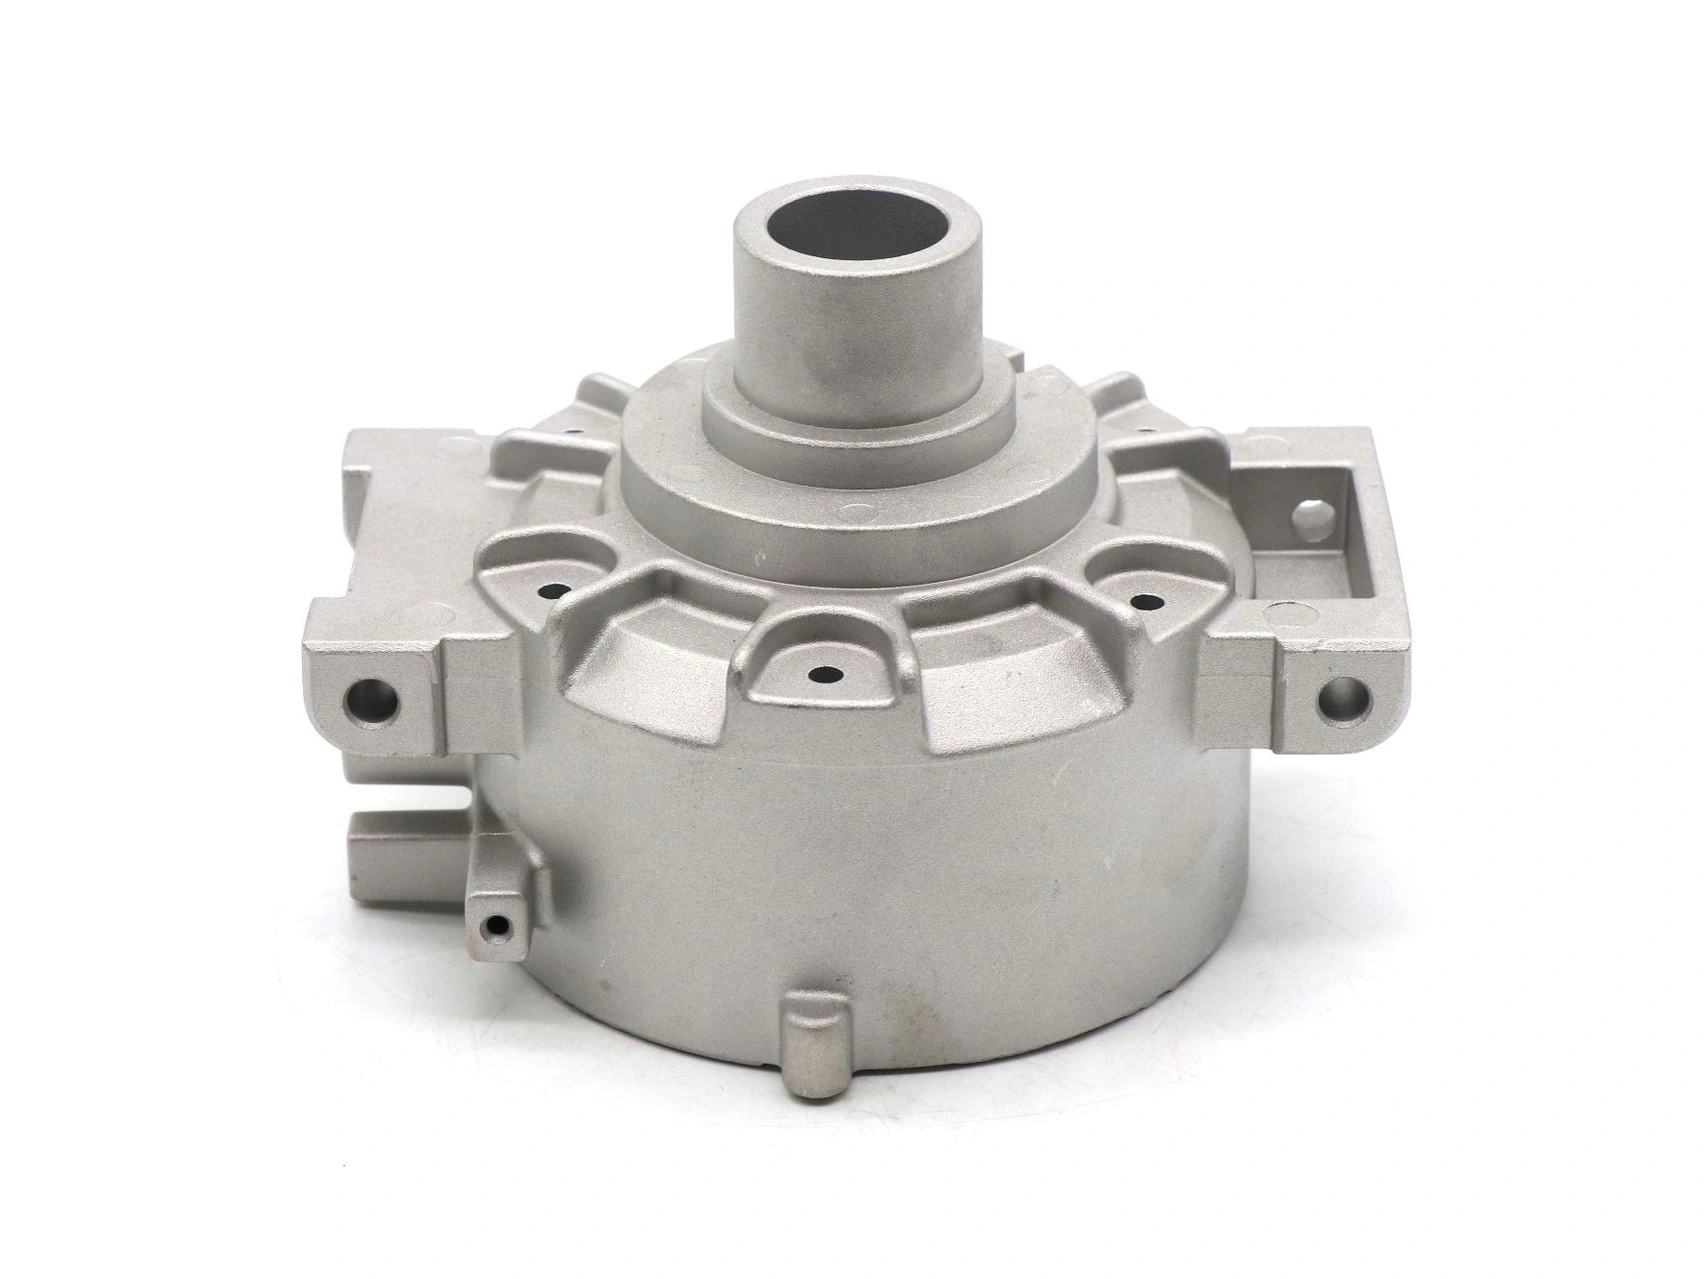
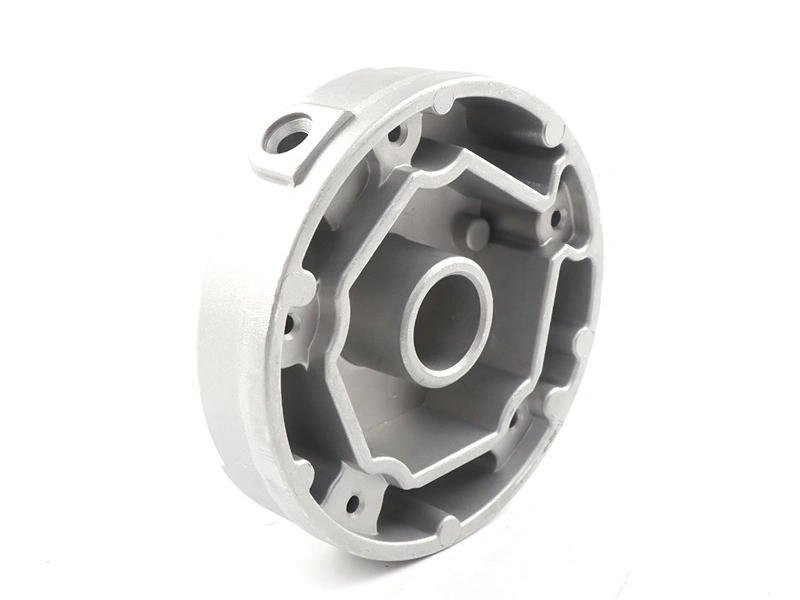
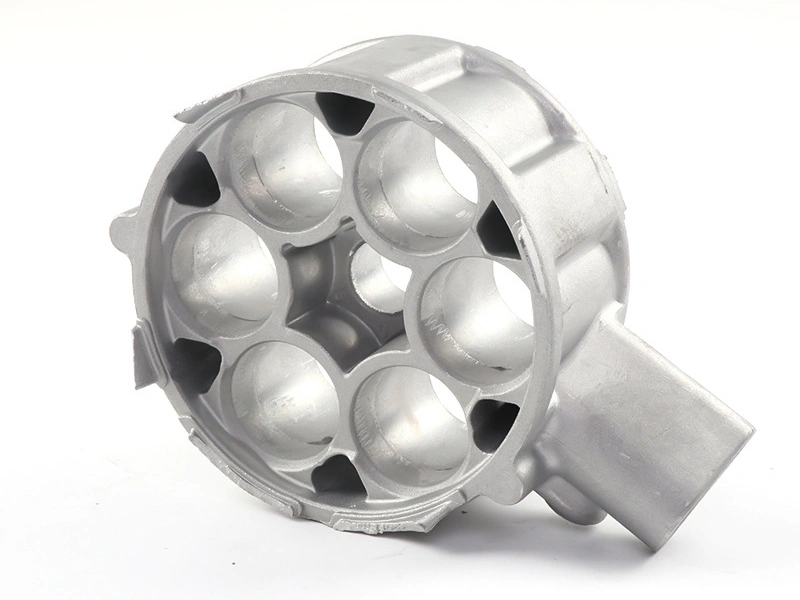
Die-cast prototype planning can help separate learning from production evidence. The best lead-time answer is a transparent critical path whose endpoint matches the buyer's question. A fixed day range without scope, input freeze, test sequence and correction ownership is not a plan.