Which Aluminium Casting Surfaces Should Be Polished?
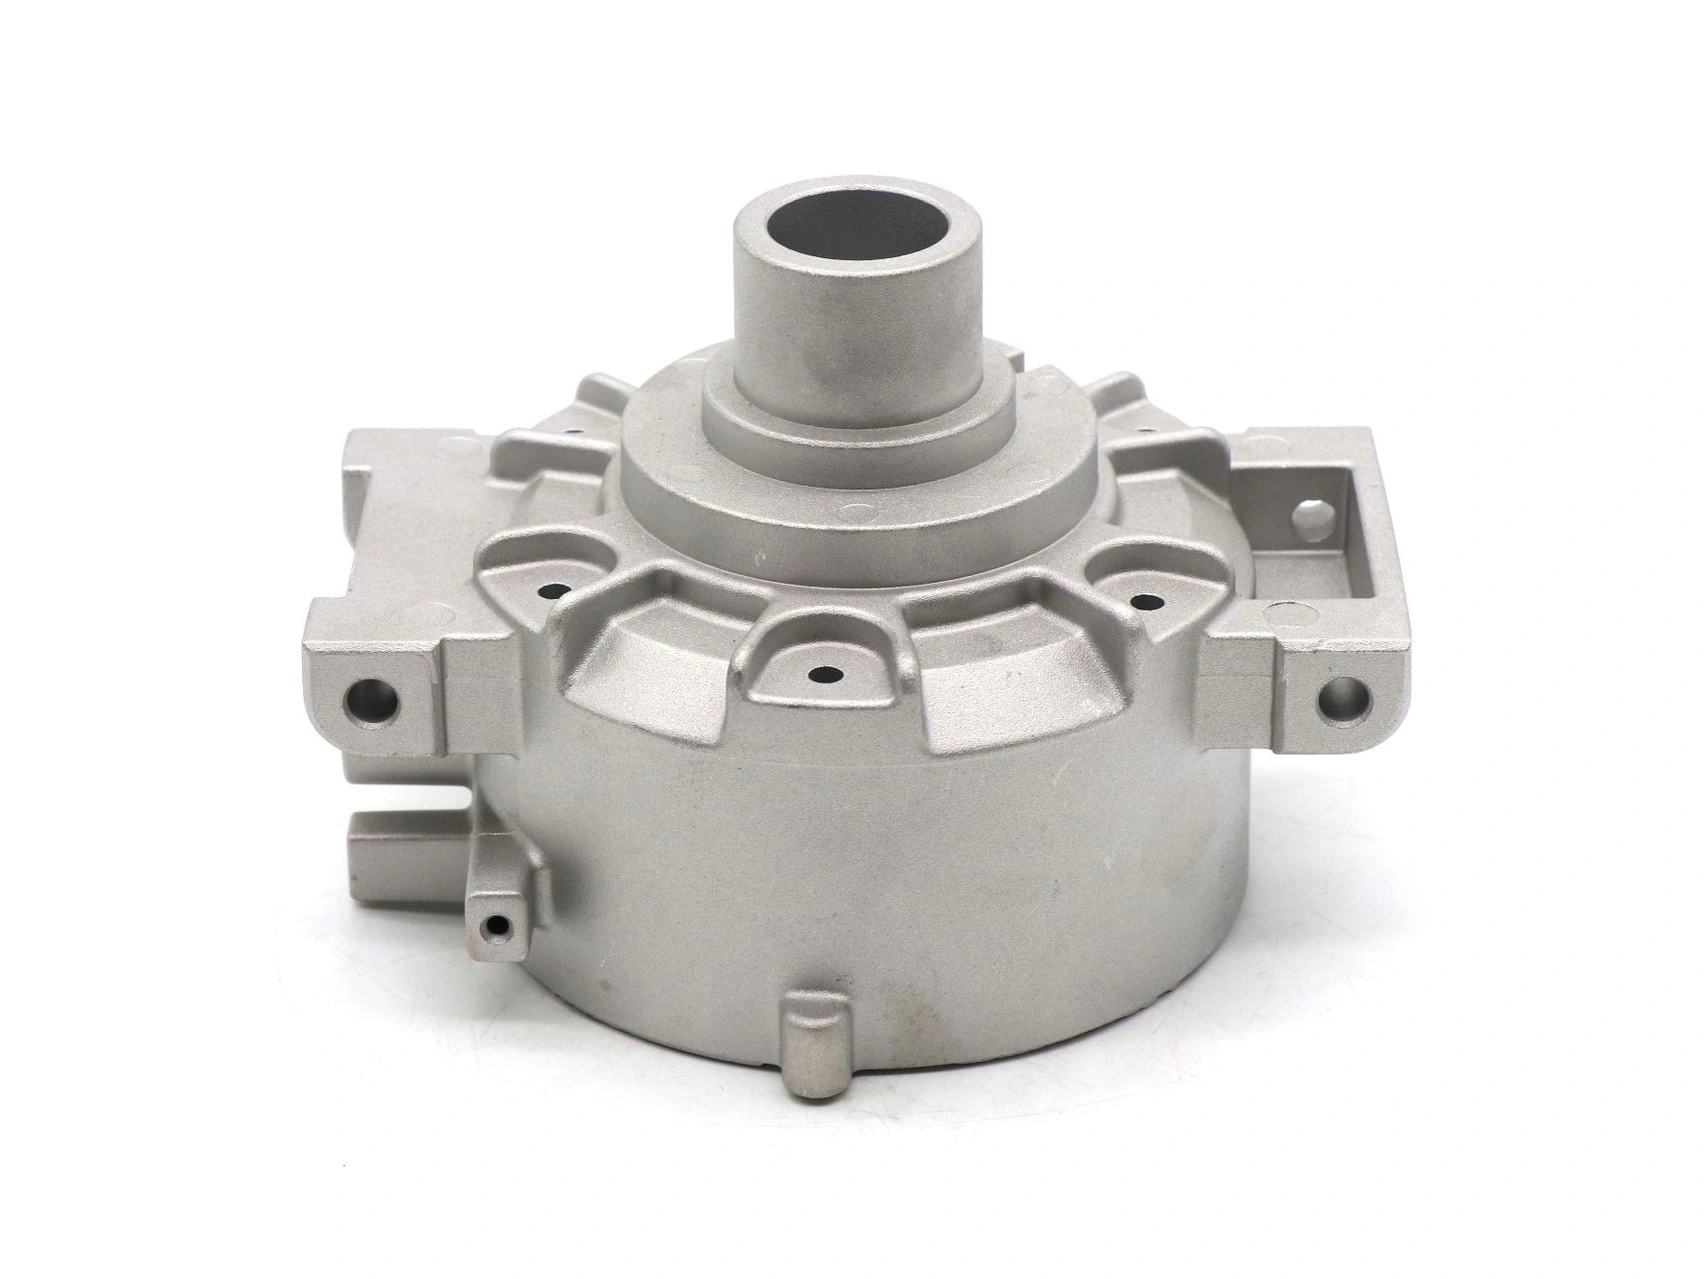
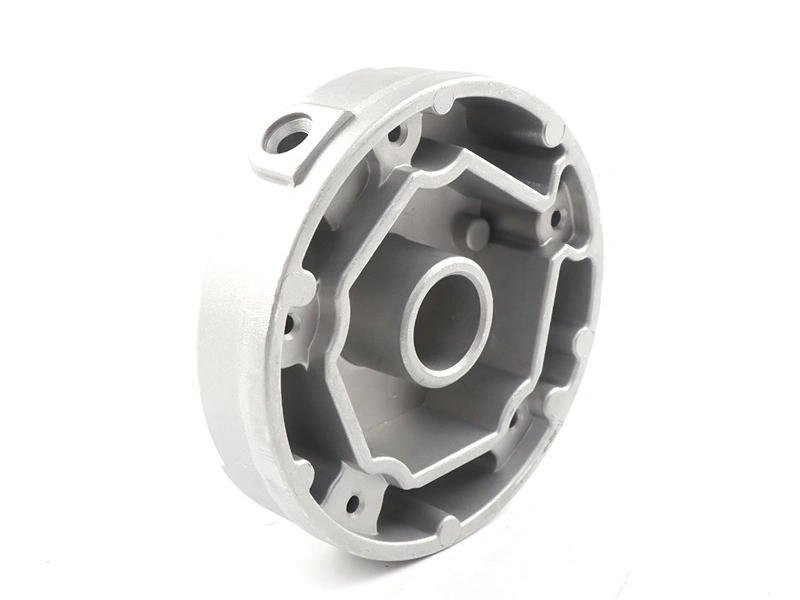
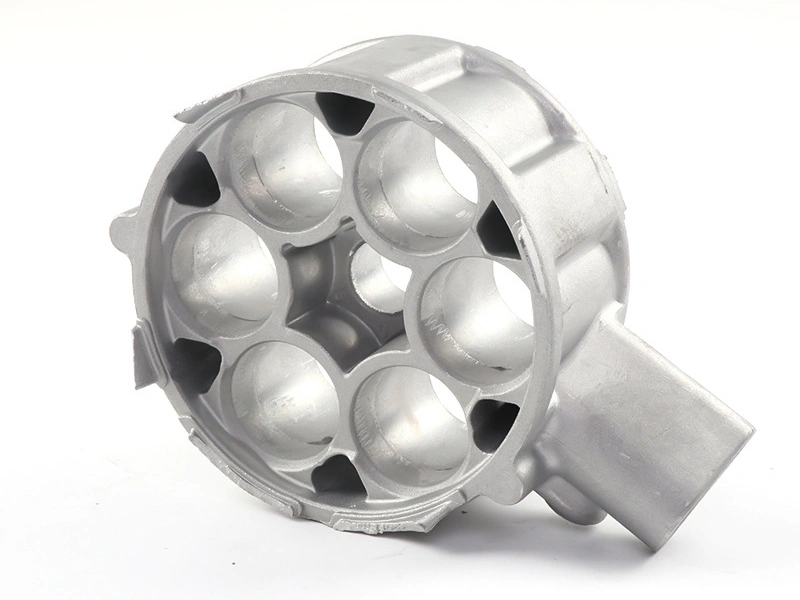
Polish aluminium casting surfaces that are visible in the assembled product, touched by the user, or require controlled blending before a specified decorative finish. Do not automatically polish hidden faces, stable as-cast areas, datums, sealing lands, bores, threads or electrical contacts. Each surface should be assigned a cosmetic, tactile, preparation, functional or no-polish category on the drawing.
This selective approach protects dimensions and lowers finished-part cost. It also prevents aggressive abrasion from opening subsurface pores or rounding edges near mating features. The right scope depends on viewing conditions, part geometry, casting quality, abrasive access and the complete downstream finish.
Classify surfaces in the assembled product
Use the product's assembled orientation, not the loose casting on an inspection bench. A face hidden by another component may not need cosmetic work. A narrow bezel, handle edge or exposed gate zone may dominate what the customer sees and touches. Mark viewing classes on a controlled drawing and include boundaries where one class transitions to another.
Surface class | Typical treatment | Reason |
|---|---|---|
Primary cosmetic | Defined brushing, blending or fine polish plus visual inspection | Directly affects product appearance |
Secondary cosmetic | Limited witness blending or less demanding texture control | Visible only at some angles or during service |
Hand contact | Deburr and controlled edge break; cosmetic polish only if specified | Comfort and handling matter more than gloss |
Coating preparation | Process approved by the coating supplier, which may not be high-gloss polishing | Cleanliness and surface profile affect the next step |
Functional or no-polish | Protect, machine or finish to a measurable requirement | Size, form, sealing, contact or location governs acceptance |
Prioritise visible witnesses during DFM
Gate remnants, parting lines, ejector marks and overflow trim locations are predictable tooling features. Place them away from primary cosmetic faces where tool function permits. Relocating one witness can remove a repeated manual blend from every production part. If relocation is not feasible, define the permitted witness and blend footprint before the die is released.
Do not use polishing to compensate indefinitely for excessive flash, mismatch, die erosion or poor trimming. Those conditions should be corrected at the die or trim process. The starting surface must be stable enough for the polishing route and cycle to remain repeatable.
Check access and edge risk
Broad open faces and simple external curves are easier to treat consistently than deep recesses, rib roots, narrow slots, lettering or interrupted geometry. A wheel cuts high points and edges faster. Hand tools can reach some local zones but add operator variation. Tumbling reaches multiple surfaces yet can cause part-on-part contact, round edges and lodge media in holes.
Create a tool-access map. Identify the abrasive approach, grain direction, start/stop areas and no-contact features. Thin fins, sharp lettering, gasket grooves and precision hole edges may need masks or fixtures. For high demand, a surface that cannot be presented repeatably to automated equipment may remain a manual cost and yield risk.
Protect functional surfaces
A polished appearance does not prove flatness, position or sealing roughness. Datums, bearing seats, bores, threads and sealing faces should follow the process that controls their function, commonly qualified as-cast capability or CNC machining. Mask these features during cosmetic work unless a specific, measurable abrasive operation is part of their plan.
Also protect coating contacts, electrical grounds and bonded surfaces according to the assembly design. Buffing compound or embedded media can affect electrical contact, adhesive bonding and coating preparation. Define cleaning and residue acceptance when polished zones sit near those interfaces.
Consider porosity before selecting deep material removal
Aluminium die castings may have gas or shrinkage pores beneath the skin. A deep gate blend or broad leveling operation can expose pits even when the incoming face looked closed. The polishing scope should therefore be reviewed with gate, vent, overflow and hot-spot locations. A trial must use production-intent cavities and remove the intended amount of material.
If pores appear, do not simply polish wider. Determine whether the source is gas entrapment, shrinkage, oxide folds or another discontinuity, then change the casting process or disposition criteria. Polishing cannot restore pressure integrity or load-bearing area.
Match each zone to the final finish
A surface destined for powder coating may need local witness blending and an approved cleaning/profile, not a mirror buff. A glossy liquid coat can reveal sanding lines and waves. Anodising on high-silicon or copper-bearing die-cast alloy may remain colour-variable despite polishing. Review the aluminium casting finish options before locking the abrasive operation.
Approve the full sequence on each cosmetic class. A bare polished sample does not show how pretreatment, coating thickness, cure or rack contact will change the result. Include assembled-view inspection and packaging so an accepted face is not scratched later.
Buyer surface map
Send a colour-coded 3D view and 2D surface legend. State the assembled visibility, polishing operation, grain direction, allowed casting witnesses, edge requirement, no-polish boundary, downstream finish and final inspection method for every class. Use physical accept and reject samples under specified lighting where appearance is subjective.
The surface-finish specification guide helps structure these zones. The supplier should return access limitations, proposed masks or fixtures and any request to move gates, ejectors or boundaries before tooling approval.
Buyer decision
Polish only surfaces whose appearance, touch or downstream process creates real product value. Leave suitable hidden and as-cast faces alone, and protect dimensions, seals, threads and contacts. Confirm access, material-removal depth and pore risk during DFM. This zone-based decision is more repeatable and economical than calling for a full polish on every surface.