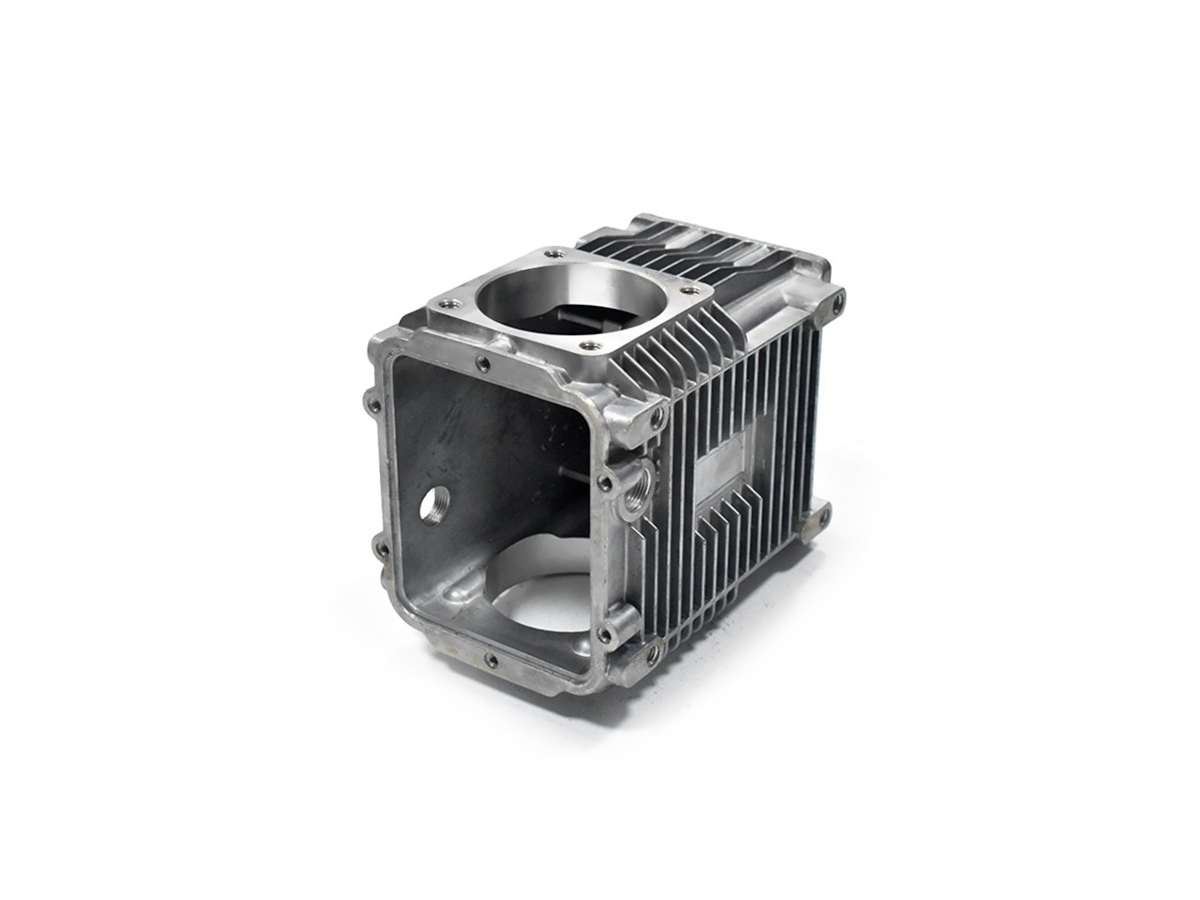
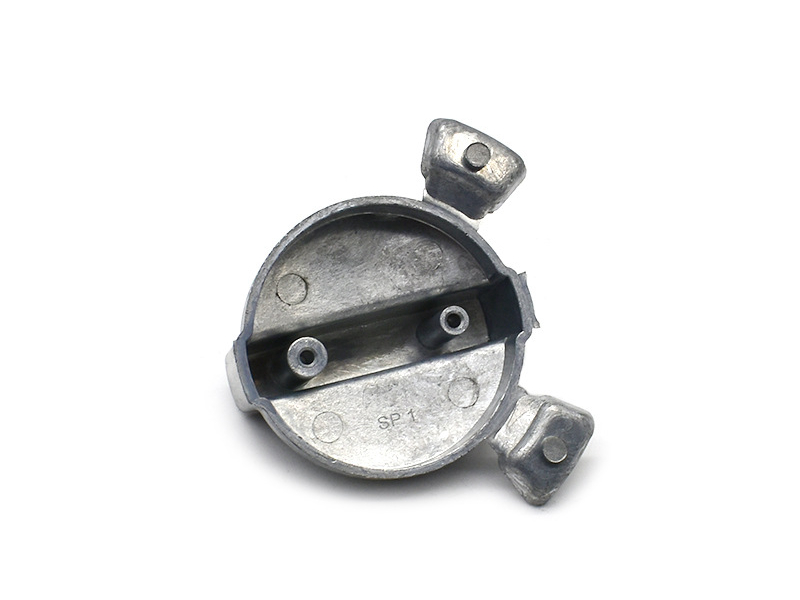
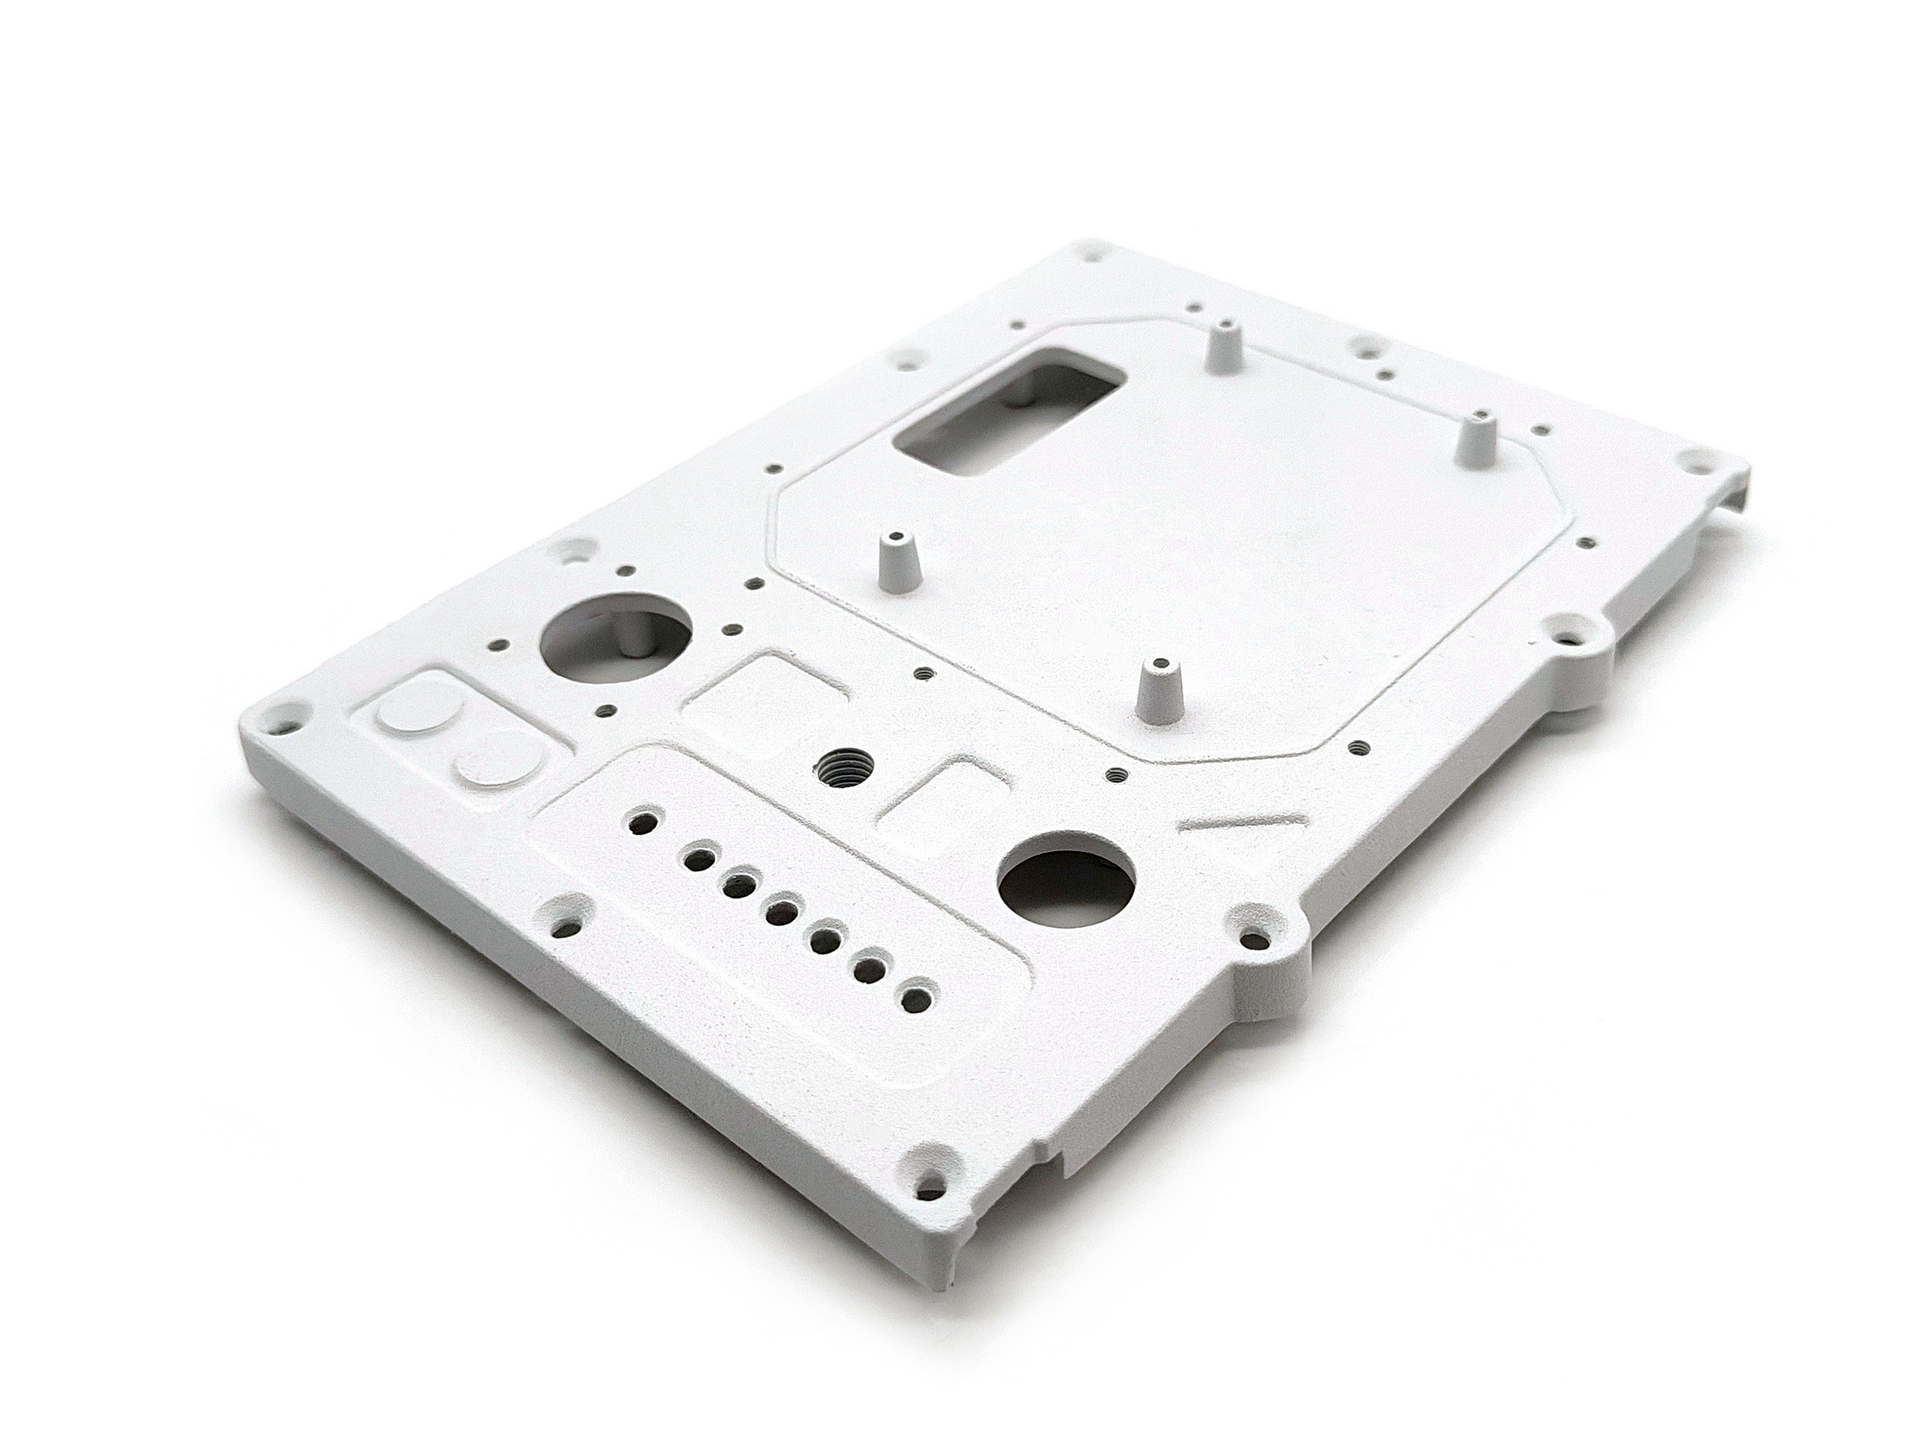
Prototypes usually approach final production aesthetics through a controlled sequence: inspect the raw part, remove contamination, correct allowed defects, level or texture the surface, apply a compatible primer and finish, protect functional areas, add graphics, assemble, and inspect against an approved sample. The sequence must fit the exact print, polyurethane or metal substrate; skipping diagnosis and coating over defects often makes the final result less consistent.
| Stage | Purpose | Common risk | Release evidence |
|---|---|---|---|
| Raw inspection | Find source defects before added value | Defect hidden without cause correction | Disposition and defect map |
| Cleaning/preparation | Remove residue and establish coating key | Contamination, attack or detail loss | Prepared coupon/part review |
| Leveling/texture | Control highlights and tactile character | Waves, rounded edges or uneven texture | Approved master or surface sample |
| Coating/graphics | Create color, gloss and decorative system | Adhesion, film-build and cure defects | Finish-stack sample |
| Assembly/final inspection | Confirm gaps, seams, handling and complete appearance | Chipping, rub, masked-area or fit failure | Accepted assembled first article |
Record layer stepping, support scars, machining marks, bubbles, porosity, sink, parting evidence, gate damage and distortion on the raw part. Decide which conditions are normal witnesses, which may be repaired and which require a new part or process correction. Repair should not conceal a recurring source defect.
Check dimensions and assembly interfaces before heavy surface work. Sanding and filler can alter edges, gaps, logo depth and local contour. If the cosmetic route changes a controlled feature, repeat the relevant measurement after finishing.
Printed polymers may retain uncured material or handling residue; urethane castings may carry mold-release contamination; machined parts may have coolant or oil; cast metal may include oxide and embedded media. Cleaning chemistry and mechanical preparation must remove the contaminant without attacking the substrate.
Use a controlled wipe or surface check where appropriate and keep gloves, storage and handling consistent after cleaning. A clean coupon prepared differently from the actual part does not establish coating readiness on recesses, repaired zones or textured areas.
Manual sanding, machining, tumbling, filler and primer-surfacer can reduce process marks. Each operation removes or adds material. Protect intentional texture, datum targets, shutoffs, threads and sharp design lines. Define acceptable waviness and edge condition, not just an abrasive sequence.
Broad glossy panels need careful leveling because reflected lines reveal low-frequency waves that a roughness reading may miss. Matte textured regions may tolerate fine marks but expose inconsistent repair patches. Inspect under the final intended lighting before moving to color.
Texture can come from the finished master and silicone mold, controlled blasting, coating formulation or a separate decorative operation. Identify its source and scale, then approve it on representative curvature. Photographs rarely communicate tactile character or directional reflection well enough to control production.
The blasting process can create a matte or coating-preparation surface, but media, pressure, angle and substrate hardness affect the outcome. Mask precision areas and avoid using texture to obscure a defect that should be corrected upstream.
Primer can promote adhesion, isolate filler and create a uniform color base. Topcoat and clear coat establish the final color, gloss, depth and handling surface. Compatibility depends on substrate, cure state, cleaner, abrasion, film build and each layer's recoat window.
Run the complete painting sequence on the exact prototype material or a representative coupon before the finished first article. Check for fisheyes, lifting, solvent attack, pinholes, orange peel, edge coverage and print-through. A visually acceptable fresh coating may still need a bounded adhesion or handling check before shipment.
Mark connector seats, threads, grounding points, sealing faces, bond zones, heat-transfer faces and tight assembly fits. State whether each is bare, primed, coated or protected temporarily. Mask boundaries near visible zones need their own appearance limit.
Coating build can reduce gaps and alter fastener seating even when average film thickness is acceptable. Assemble representative mating parts after finish and inspect the actual relationship. Do not rely only on pre-finish dimensions.
Printing, decals, labels, metallic effects and clear coats depend on the prepared base. Define artwork revision, location datum, orientation, color, edge condition and overcoat. Curvature and texture can distort fine graphics, so approve the operation on representative geometry.
Decorative metallization or metallic paint can simulate appearance without providing metal conductivity, wear or thermal behavior. Label that boundary in the test record so a visual treatment is not interpreted as material evidence.
Final appearance includes color harmony across components, gaps, flushness, seam alignment, fastener heads and transitions between gloss or texture zones. Review the assembled prototype under controlled lighting against identified target and limit samples.
The cosmetic inspection standard should state zones, viewing method, allowed witnesses, defect limits and repair policy. Record substrate, finish batch, cure and part revision with the approval.
Cleaning materials, gloves, bags, separators and fixture contact can change a soft, matte or glossy finish. Packaging should support the part without rubbing a primary surface or pressure-marking flexible walls. Include unpacking and cleaning instructions when the review depends on an untouched surface.
Send controlled CAD, raw-process route, cosmetic map, finish reference, masking, assembly and acceptance condition in the RFQ. Ask the supplier for the exact preparation stack, sample gate, repair limits, inspection method and production-comparison limitations. A disciplined sequence creates a useful appearance reference; it does not eliminate the need to validate the production substrate and line.