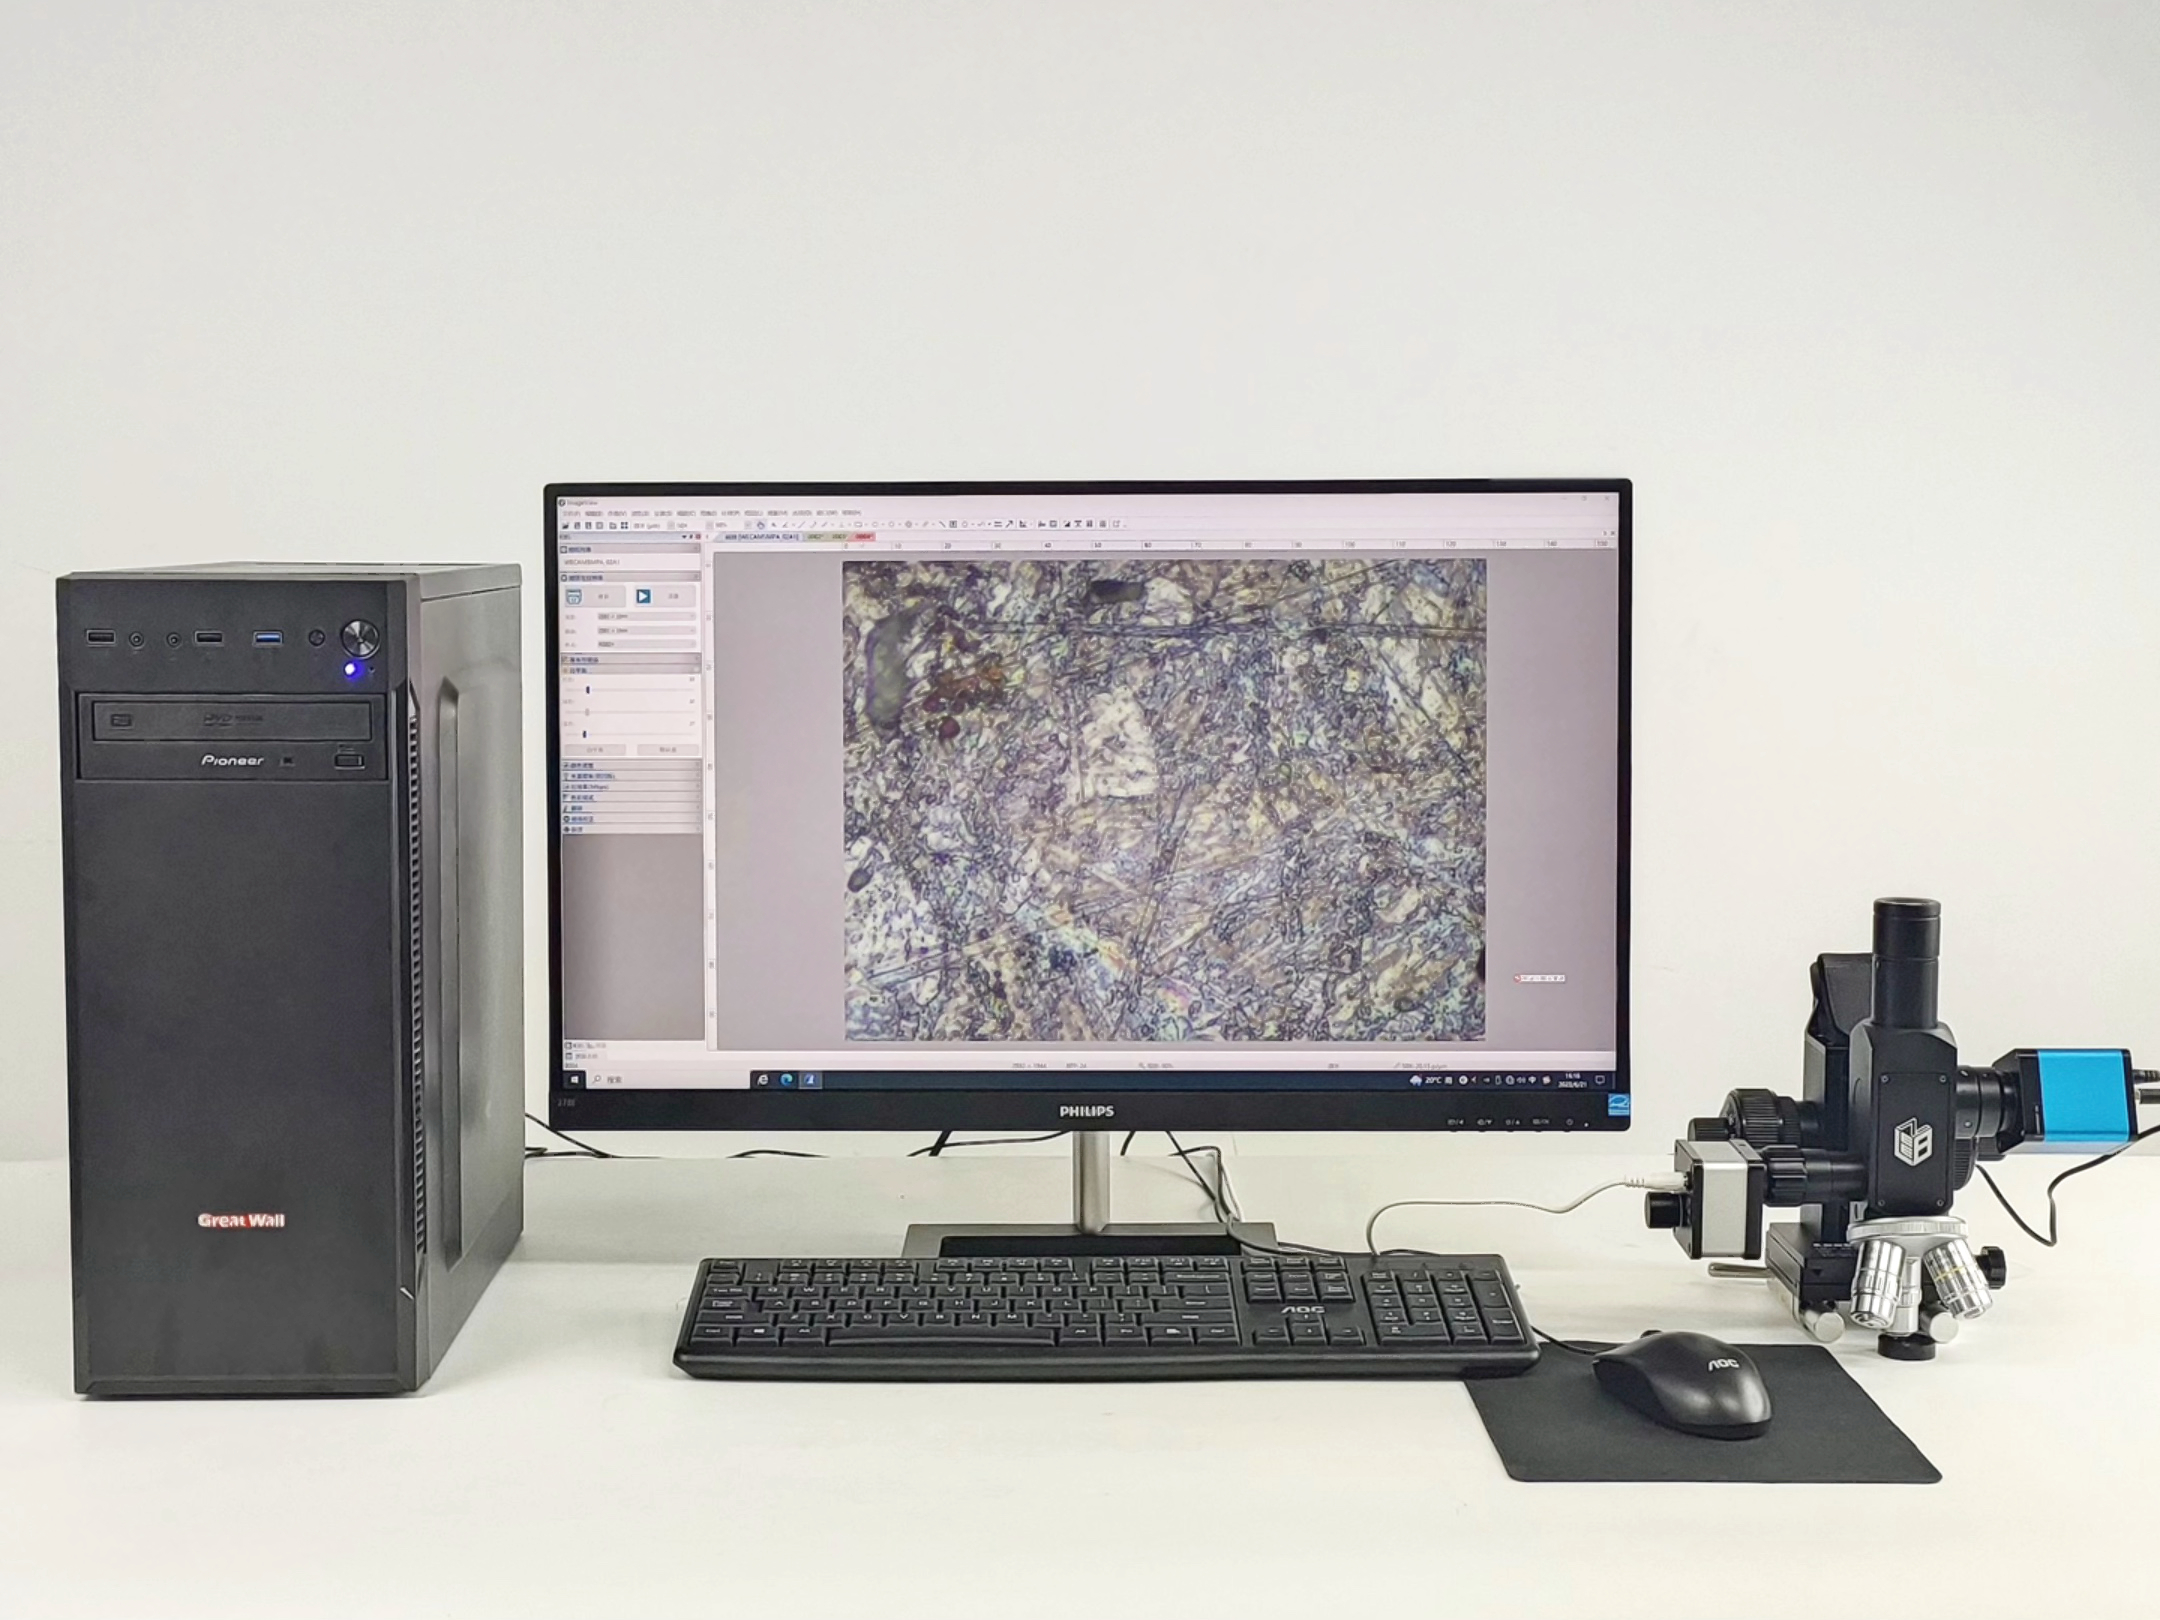
Microstructural Integrity: Metallographic Microscopy for Defect-Free Custom Components
Metallography: Defect-Free Components
In aerospace, automotive, and medical device manufacturing industries, microstructural defects—such as grain boundary impurities, voids, or non-metallic inclusions—can compromise component performance, leading to premature failure under stress or corrosion. Metallographic microscopy remains a cornerstone of quality assurance, enabling precise evaluation of material microstructures to ensure compliance with stringent standards like ASTM E112 and ISO 643.
At Neway, our metallographic analysis combines advanced optical microscopy (up to 1000x magnification) with meticulous sample preparation, providing actionable insights for aluminum die castings, zinc alloy components, and heat-treated steels.
Principles and Technical Specifications
Sample Preparation Protocol
Sectioning: Precision cutting of components (e.g., A380 Aluminum housings using diamond-edged saws to avoid thermal deformation.
Mounting: Encapsulation in epoxy resin for edge retention during polishing.
Polishing: Sequential grinding (240–1200 grit) and diamond suspension polishing (1 µm finish).
Etching: Application of Keller’s reagent (for aluminum) or Nital (for steel) to reveal grain boundaries and phases.
Imaging and Analysis
Magnification: 50x–1000x using brightfield/darkfield illumination.
Resolution: 0.2 µm at 1000x.
Software: ASTM E1245-compliant inclusion analysis and grain size measurement.
Key Applications in Custom Manufacturing
Grain Size Assessment:
Verify ASTM E112 grain size (5–8级) in A356 Aluminum suspension arms for automotive applications.
Detect abnormal grain growth in Zamak 5 Zinc connectors due to improper die casting temperatures.
Inclusion Rating:
Quantify sulfide/oxide inclusions per ASTM E45 in 4140 Steel tooling, critical for fatigue resistance.
Heat Treatment Validation:
Confirm martensitic transformation in H13 Tool Steel after quenching, ensuring hardness ≥50 HRC.
Metallographic Microscopy vs. Alternative Methods
Parameter | Metallographic Microscopy | SEM | Optical Microscopy |
|---|---|---|---|
Resolution | 0.2 µm | 1 nm | 0.5 µm |
Sample Preparation | Polishing/etching required | Conductive coating optional | Minimal |
Cost per Analysis | 150–150–300 | 500–500–1,000 | 50–50–100 |
Ideal Use Case | Grain structure, inclusions | Nanoscale defects | Surface topography |
For instance, metallography identified intergranular corrosion in Brass 360 marine fittings, traced to improper annealing during post-process treatment.
Integration into Quality Assurance Workflows
Stage 1: Raw Material Certification
Analyze Zamak 3 Zinc ingots for oxide clusters (>5 µm) per ASTM B240.
Stage 2: In-Process Monitoring
Assess grain refinement in A360 Aluminum pump housings after T6 heat treatment.
Stage 3: Failure Analysis
A 2023 case study revealed micro-voids (10–30 µm) in CuZn10 Brass heat exchangers, resolved by optimizing CNC machining feed rates.
Cost-Benefit Insights
Scrap Reduction: Early detection of dendritic segregation in A413 Aluminum reduced rework by 18%.
Compliance: Achieved NADCAP accreditation for aerospace clients through ASTM E407-compliant reports.
R&D Efficiency: Accelerated alloy development for prototyping by 25% through microstructure-driven iterations.
Conclusion
Neway’s metallographic microscopy services ensure microstructural integrity across custom components, from low-volume prototypes to high-volume production. By correlating microstructure with mechanical performance, we empower industries to meet AS9100, IATF 16949, and ISO 13485 standards.
FAQs
What sample size is required for metallographic analysis?
Can you analyze non-metallic materials like ceramics?
How long does a typical metallographic preparation process take?
What etchants are used for titanium alloys?
How does metallography complement mechanical testing?

