How are cosmetic finishes applied to die cast consumer parts?
Cosmetic finishes are applied to die-cast consumer parts by first defining visible and touch zones, then stabilizing the casting surface, deburring and cleaning, applying the approved mechanical preparation and chemical pretreatment, adding paint, powder, anodize, plating, or another layer system, curing or sealing it, and inspecting the final part against objective limits and boundary samples. Good appearance begins before coating; a finish cannot reliably hide pores, flow defects, dents, or poor trim.
Write a cosmetic standard by zone
Divide the part into primary visible, secondary visible, hidden, touch, logo, edge, mating, seal, grounding, thermal, and wear zones. Define viewing distance, angle, illumination, time, orientation, and whether inspection occurs loose or assembled. Establish allowed defect types and sizes with production-representative limit samples.
Color, gloss, texture, metallic orientation, gap and flush, and defect visibility can be measured or compared, but no instrument captures every human judgment. Define color space and tolerances if used, master plaque or part, metamerism lights, lot matching, and replacement-part expectations. Align metal, plastic, glass, and painted neighbors at assembly level.
Stabilize the casting substrate
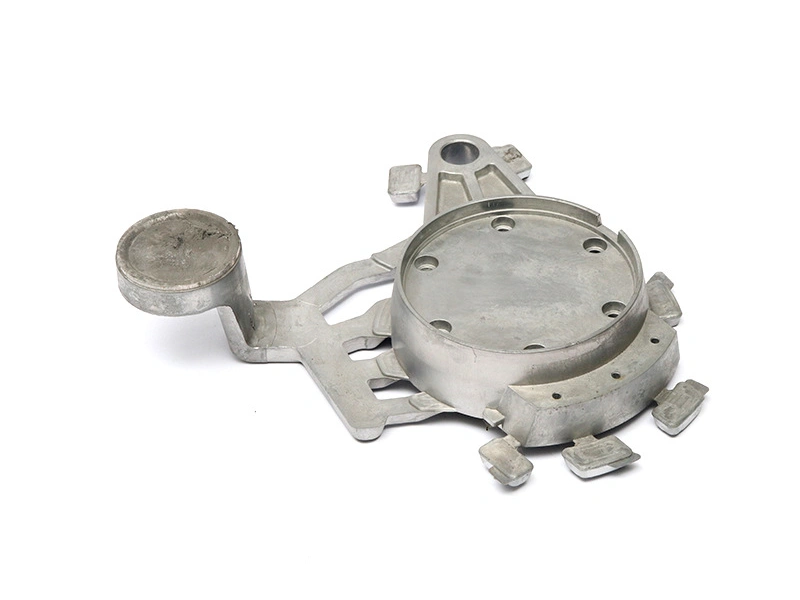
Gate and overflow removal, parting line, ejector marks, flow lines, cold shuts, pores, flash, dents, and tool texture affect appearance. Place process signatures away from Class A zones during DFM. Define casting acceptance before expensive finish is added, and track defects by cavity and tool state.
Outgassing can create pinholes or blisters during cure; polishing can expose pores; blasting can embed media or create shade variation; machining can leave sharp transitions. Trial the actual alloy, casting route, cavities, surface condition, and geometry. A hand-prepared prototype is not a mass-production appearance standard.
Prepare, clean, and handle the surface
Mechanical preparation may include controlled deburring, blasting, tumbling, brushing, polishing, or grinding. Each changes texture, edges, dimensions, and defect visibility. Mask precision, seal, thread, grounding, thermal, logo, and touch areas as required. Remove release agent, oils, abrasive, polishing compound, oxides, salts, and fingerprints with a validated cleaning and rinse process.
Handling between preparation and coating matters. Time, humidity, gloves, racks, baskets, contact points, and storage can change adhesion or stain the surface. Define maximum hold times and protected transport. Inspect cleanliness and substrate condition before applying layers.
Select the layer system
Powder coating can deliver color, gloss, texture, and a protective barrier. Pretreatment, powder chemistry, grounding, spray access, film distribution, edge build, recess coverage, outgassing, cure, and repair determine quality. Thick film can bridge logos and interfere with fits or contacts.
Liquid paint supports broad color, metallic, soft-touch, clear, and graphic effects. Primer, base, topcoat, flash time, cure, orientation, contamination, and recoat rules require control. Anodizing can preserve a metallic character on suitable aluminum, but high-silicon die-casting alloys can show mottling and color variation. Zinc plating systems need controlled underlayers, polishing, rack points, thickness, and sealing.
Map appearance to process evidence
Desired result | Process direction | Evidence before approval |
|---|---|---|
Textured appliance enclosure | Stable substrate, pretreatment, paint or powder | Color/gloss/texture, adhesion, chemicals, edges and lot matching |
Metallic aluminum appearance | Selected blasting/polishing plus qualified anodize or clear system | Alloy/cavity trials, shade boundary, pores, touch and corrosion |
Bright plated zinc hardware | Polish, underlayers, decorative plate and sealer | Porosity, rack marks, thickness, adhesion, wear and joint corrosion |
Soft-touch or branded panel | Primer/paint/clear and controlled graphics | Feel, cleaners, abrasion, print adhesion, color and aging |
Masked thermal or grounding zone | Controlled transition and bare/conductive surface | Boundary, dimensions, resistance, corrosion and assembly function |
Control cure, masking, and repair
Temperature and time affect crosslinking, color, gloss, adhesion, outgassing, and thin-part distortion. Verify the actual part temperature rather than oven setting alone where needed. Mask materials and plugs must survive the process without residue, leakage, or damaging transitions. Remove them without scratching finished surfaces.
Define touch-up, recoat, stripping, blending, and reject rules by zone. Local repair may show color or texture differences and may not reproduce pretreatment. Stripping can attack substrate, expose pores, round edges, or alter dimensions. Obtain approval and revalidate affected functions before using repaired parts.
Inspect after assembly and packaging
Use visual standards plus color, gloss, film, adhesion, abrasion, chemical, corrosion, dimension, and functional tests selected for the product. Inspect edges, recesses, rack points, masks, logos, threaded areas, and contacts. Sample plans should reflect cavity, finish lot, color, shift, and risk.
Assembly fixtures, fasteners, tools, adhesives, labels, protective films, and cleaning can mark the finish. Packaging can rub, stain, transfer dye, or trap moisture. Validate the retail-ready product through expected handling and distribution. A finish is saleable only if it survives the full chain, not just the coating line.
What buyers should provide
Send cosmetic zones, viewing standard, limit samples, color/gloss/texture, metallic effect, touch, substrate/alloy, environment, UV, cleaners, wear, masking, labels, grounding/thermal/seal interfaces, dimensions, packaging, tests, repairs, lot matching, records, and change requirements.
Ask the finishing chain for the full preparation and layer route, rack/mask plan, cure, controls, approved materials, sub-tiers, samples, inspection, repair, handling, packaging, and exceptions. Cosmetic consistency is manufactured from casting tool to retail box; it is not painted on at the end.