What Design Changes Help Lower Aluminum Die Cast Part Costs?
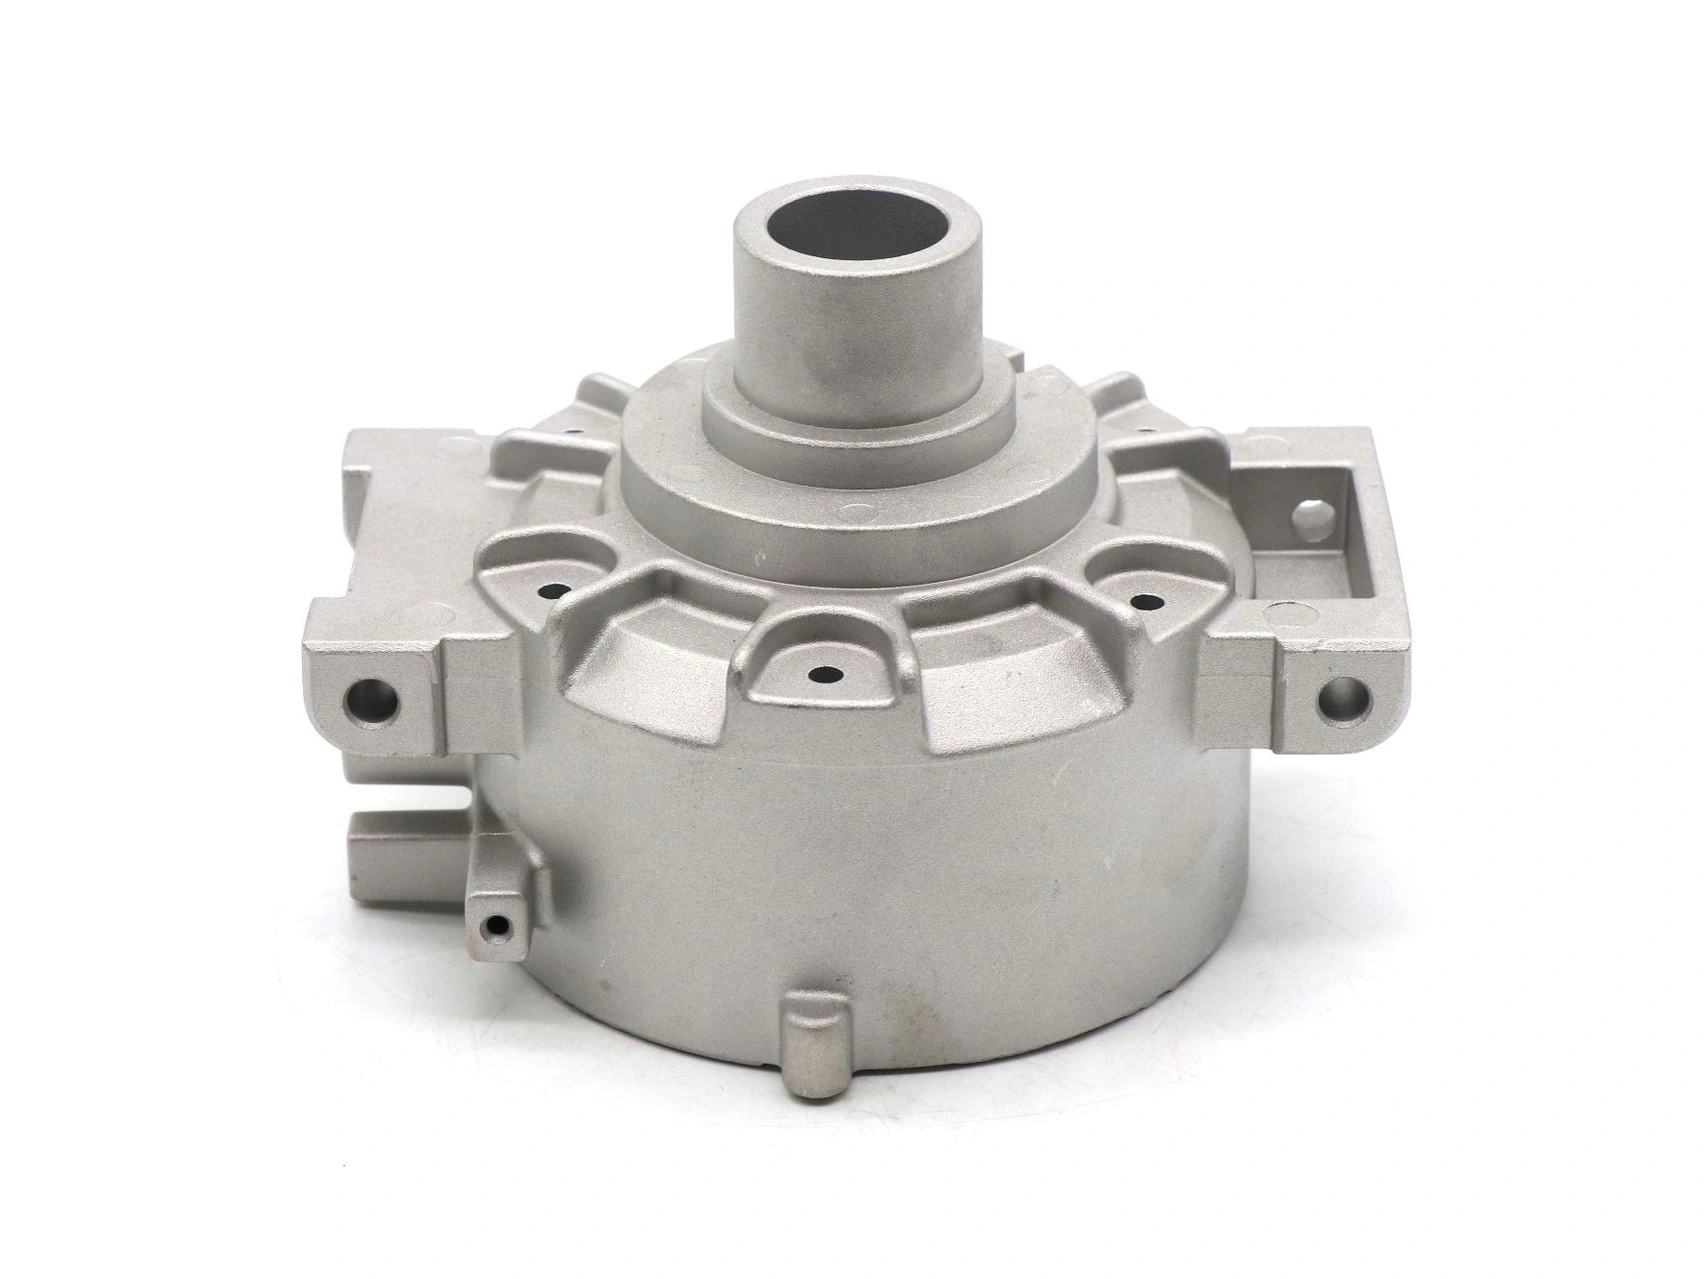
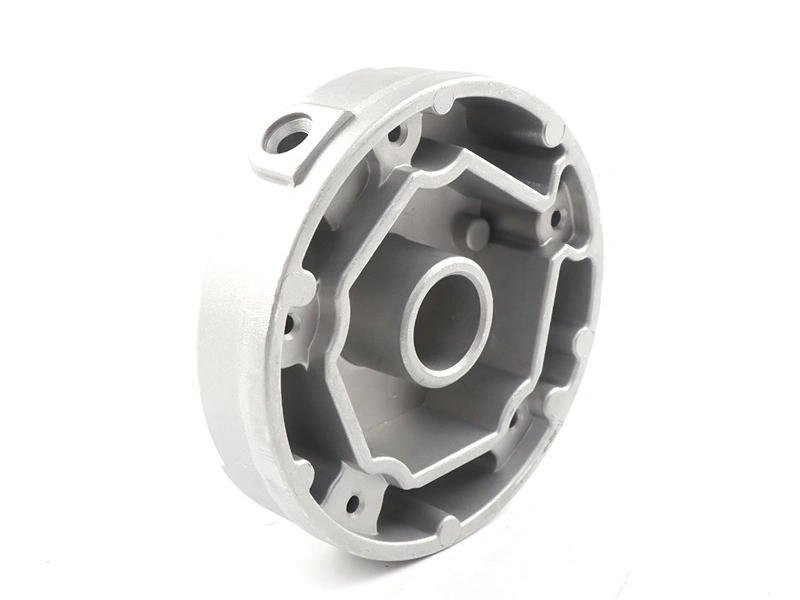
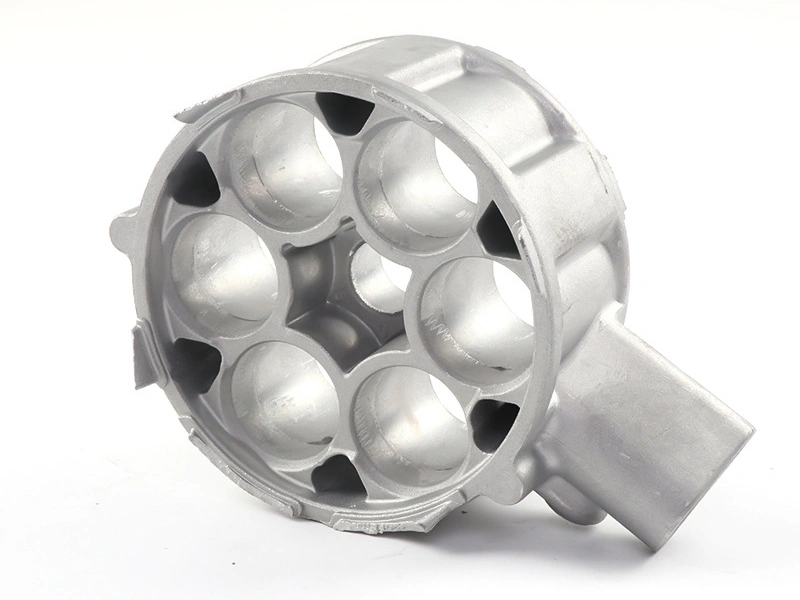
The most effective cost-reducing design changes are to establish one practical die direction, remove nonfunctional undercuts and fragile details, replace excess solid mass with castable walls and ribs, assign close tolerances only to functional interfaces, and plan machining and finish zones before tooling. Every change must preserve load, sealing, thermal and assembly requirements; a lighter CAD model is not automatically a cheaper production part.
Start with die direction
A clear opening direction determines the main parting line, draft and features visible to each die half. Side holes, reverse hooks and trapped recesses may require slides or loose inserts. Each action adds design, manufacture, fit, wear and maintenance. Remove an undercut when it has no functional value; retain it when the recurring operation it eliminates repays the added tool.
Mark where gate vestige, overflow trim, parting witness and ejector marks are acceptable. Moving these after steel is cut can require insert work or compromise a cosmetic face. A part-specific design review should return a marked die concept, not merely a list of generic guidelines.
Balance sections instead of thinning everywhere
Heavy isolated bosses and abrupt thick-to-thin transitions can concentrate heat, increase sink or porosity risk and lengthen local solidification. Core boss roots where function permits, blend transitions, and use ribs to carry bending or support broad walls. Ribs also need suitable depth, draft and spacing so the die steel remains manufacturable and the metal can fill.
Do not specify a universal minimum wall. Alloy, flow length, gate position, venting, projected area, surrounding mass and appearance class change the practical limit. Ask the supplier to evaluate the entire fill path, then validate the proposed section in trial castings.
Design change | Cost mechanism | Validation question |
|---|---|---|
Remove an unnecessary undercut | Eliminates a slide, insert or later operation | Does function or assembly still pass? |
Core a heavy boss and add support ribs | Reduces metal and local thermal concentration | Are flow, ejection and loaded-joint tests acceptable? |
Add radii and practical draft | Improves fill and release while reducing fragile die edges | Do mating and cosmetic boundaries remain correct? |
Relax a nonfunctional tolerance | Removes machining, special gauging or sorting | Does the complete tolerance stack still meet function? |
Move a visible boundary away from gate/ejector regions | Reduces finishing and cosmetic rejection | Can the chosen finish meet an approved limit sample? |
Design radii, draft and die steel together
Sharp internal corners disrupt flow, concentrate part stress and require sharp die features that can be vulnerable. Use radii compatible with function and cutter access. Draft supports release; textured or deep faces may need a different allowance than shallow polished faces. The drawing should define functional geometry while the DFM confirms a viable production value.
Very thin fins, narrow slots or small lettering may be castable in an early sample yet difficult to cool, polish or maintain. Ask how the corresponding die steel is supported and repaired. A detail that drives frequent insert replacement may cost more than engraving, machining or applying it after casting.
Use a functional tolerance map
Classify dimensions as function-driving, process-control, reference or cosmetic. Tight controls belong where they affect sealing, alignment, bearing fit or a loaded joint. Establish coherent datums that the casting, machining fixture and inspection can access. Blanket tight tolerances force extra stock, CNC operations and gauges without improving performance.
Plan post-machining stock around the expected casting surface and internal-quality risk. A sealing land cut deeply through the dense casting skin may expose porosity. The die, gate, overflow and machining plan should be reviewed as one system, followed by the specified leak or assembly test.
Consolidate parts selectively
Integrating brackets, mounting pads and covers can remove fasteners, inventory and stack-up. Keep service, replacement and finishing access in mind. A single complex casting may require large slides, become difficult to coat uniformly or force replacement of an entire assembly after minor damage. Compare deleted assembly cost with added die and life-cycle cost.
Design for the finish and packaging
Identify visible A/B/C zones, permitted tooling marks, color/texture reference, masking areas and coating-sensitive fits. Provide rack or hook locations that do not damage sealing or visible faces. A finish layer cannot reliably conceal cold shuts, pits or blisters, so substrate acceptance and handling belong in DFM.
Packaging can influence geometry too. Broad cosmetic faces may need separators or protected contact points. Include the final packing orientation when judging whether consolidation or a projecting feature truly reduces delivered cost.
Approve design changes with evidence
Before release, review a marked DFM showing parting, gates, vents, overflows, slides, ejectors, cooling-sensitive regions, machining stock and cosmetic zones. Use simulation or engineering analysis where it addresses a defined risk, then confirm the result with representative castings and functional tests under the agreed acceptance plan. The best design change is traceable from a cost driver to a verified product outcome.