How Polishing Aluminium Castings Improves Surface Quality and Part Value
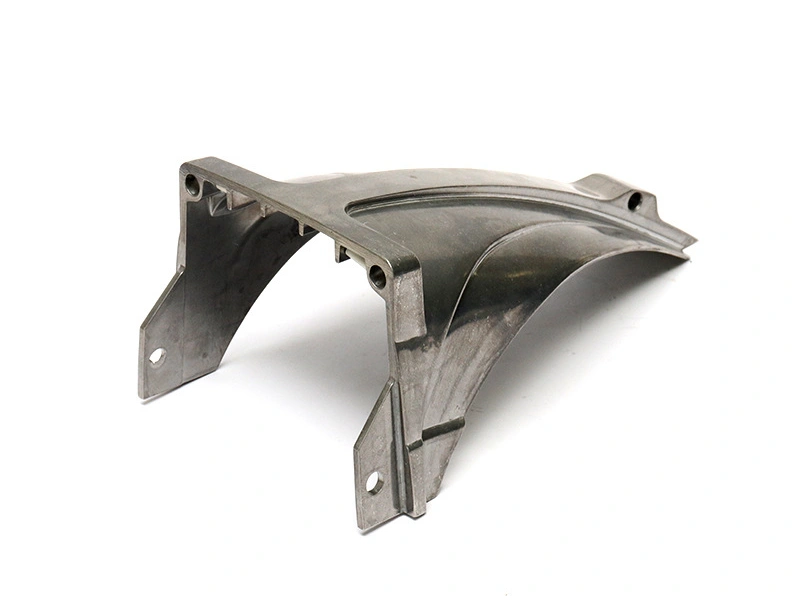
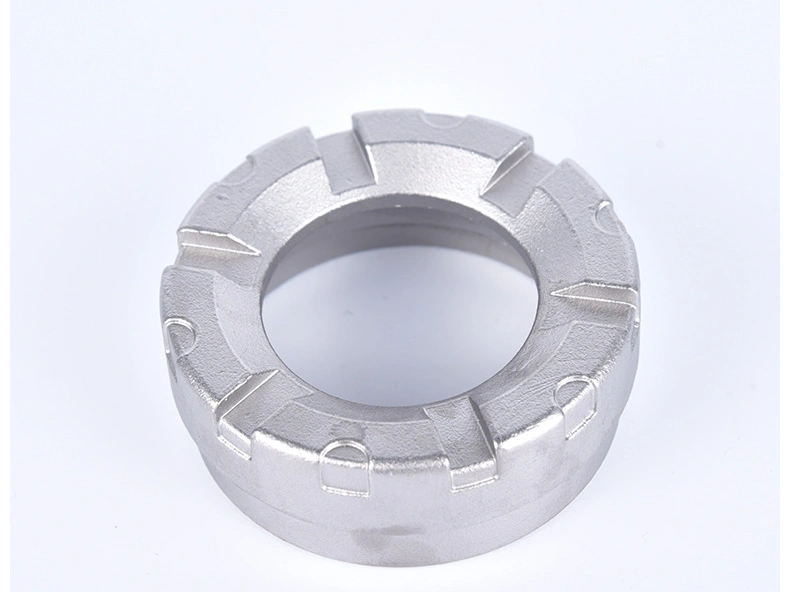
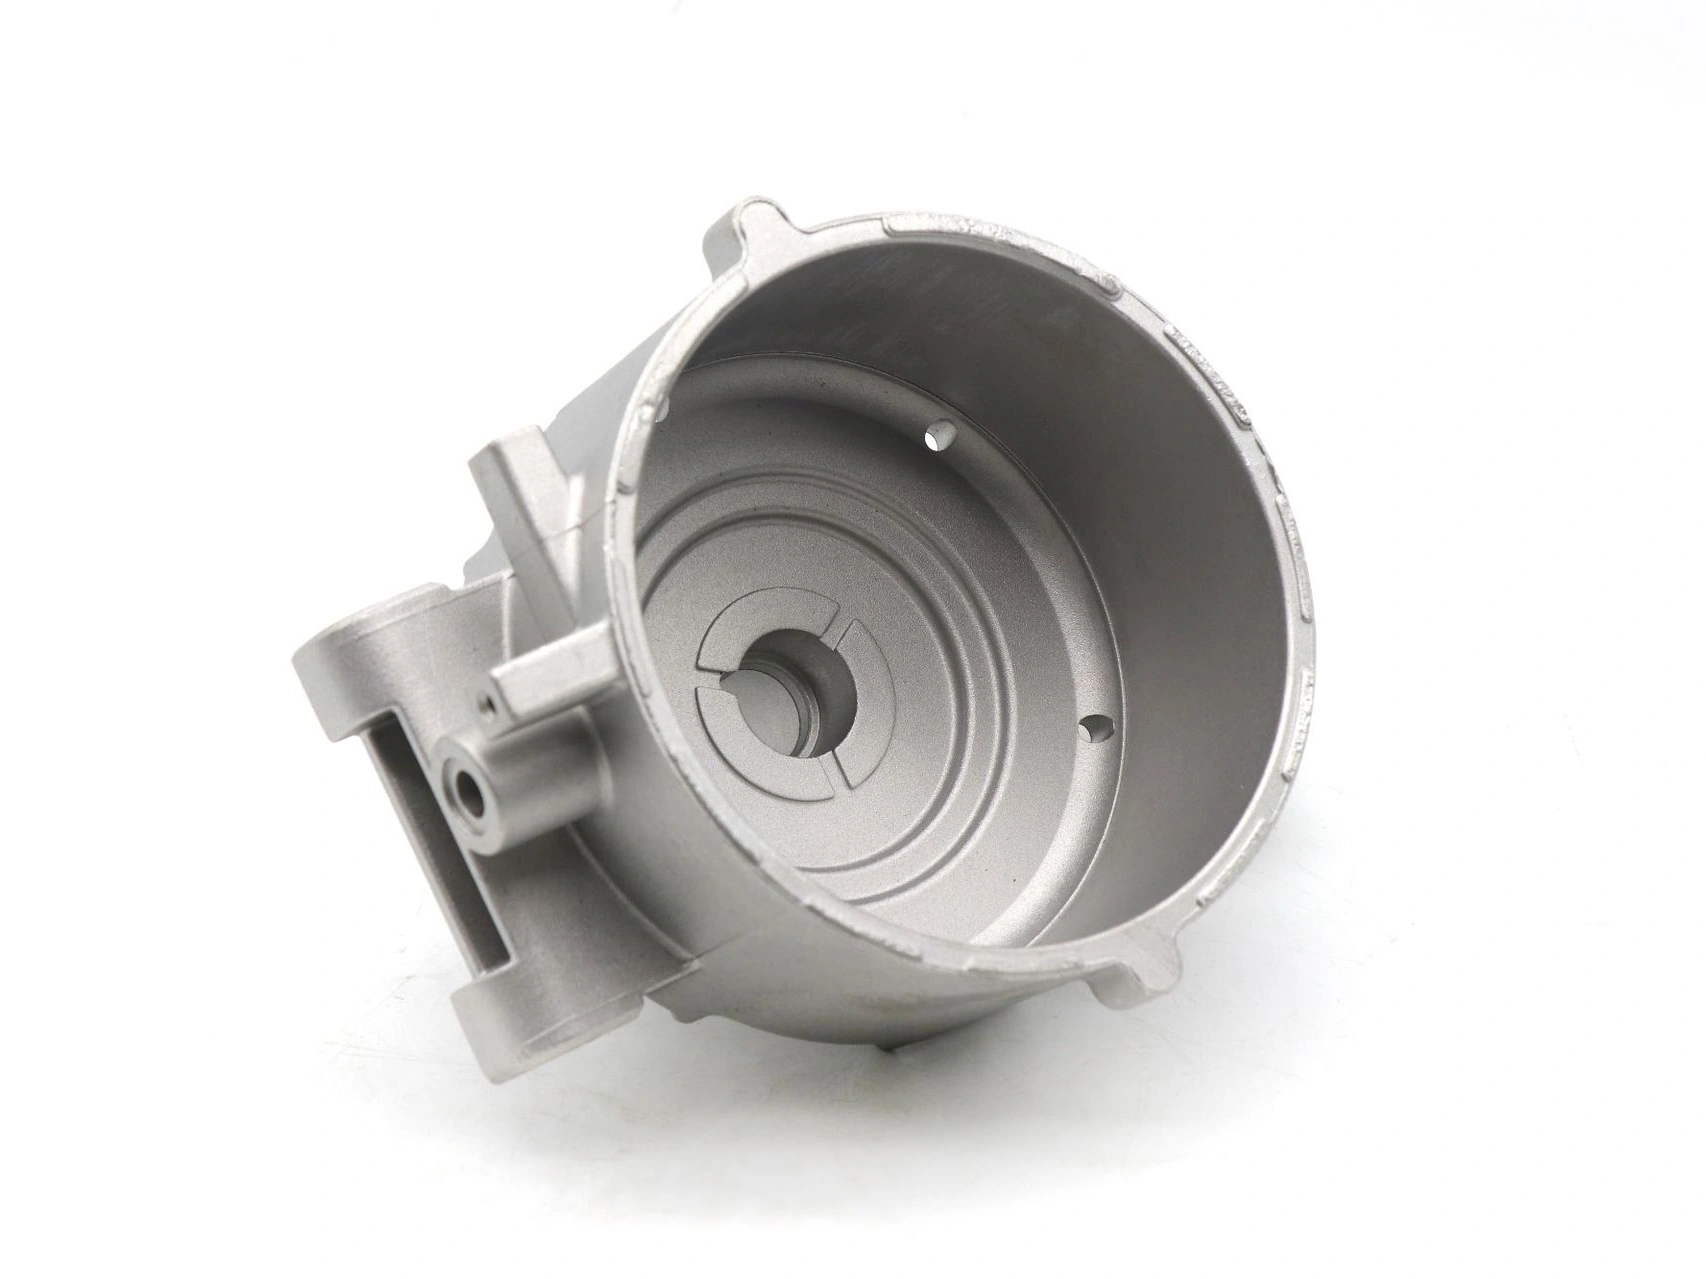
Polishing improves aluminium castings when it removes controlled amounts of surface material to blend permitted parting-line or gate witnesses, reduce burrs, refine an exposed texture or prepare a defined cosmetic face for a compatible finish. It can increase part value by making visible and hand-contact zones consistent with the product's appearance standard. It does not repair cold shuts, shrinkage, cracks or internal porosity, and bare polished aluminium is not automatically corrosion resistant.
The decision must begin before tooling. Mark the faces that are visible in the assembled product, the viewing conditions, allowed witness marks, edge requirements and downstream coating. Then choose an abrasive route that can reach those faces without rounding datums, reducing wall or sealing stock, opening subsurface pores or contaminating the next process. Approval should use production-intent castings, preparation and finish, not a separately polished show sample.
What polishing does to an aluminium casting
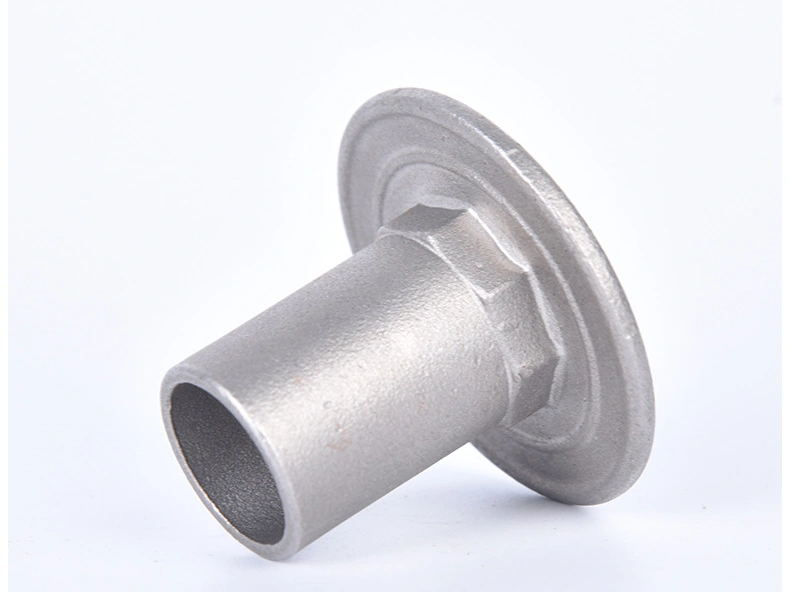
Polishing is a family of abrasive operations rather than one finish. Coarse grinding can remove a gate remnant or pronounced parting witness. Belt, wheel or hand operations can blend that area into adjacent geometry. Successively finer abrasives reduce the directional scratches left by the prior step. Buffing with compound can raise reflectivity on accessible surfaces, while tumbling or vibratory media can soften burrs and produce a more uniform matte or satin condition on suitable small parts.
Each operation changes the surface topography and removes metal. The finished result depends on the starting casting skin, alloy, die texture and wear, metal flow, trimming, handling, geometry, abrasive sequence, pressure, speed and operator or automation control. A polished surface can look smoother while still retaining waviness or shape error. Appearance and dimensional accuracy must therefore be specified separately.
The aluminium die-casting polishing overview is useful for process orientation. The project drawing still needs to state which areas receive that process and what condition is accepted afterward.
Start with the casting surface, not the polishing wheel
Conventional high-pressure aluminium die casting forms a relatively fine skin against the steel die. The surface can show die texture, flow traces, ejector witnesses, parting-line mismatch, flash, trim marks and local solder pickup. These features do not all have the same cause or remedy. A stable process and maintained die should create the baseline; polishing should not become a permanent substitute for correcting damaged steel, excessive flash or unstable trimming.
Gas pores and shrinkage cavities may sit below an apparently continuous skin. Abrading the face can expose them. Gas entrapment is related to filling and venting; shrinkage develops where local solidification lacks feeding. Polishing cannot close either mechanism. If the surface opens pores during trials, review the gate, overflow, venting, thermal layout, wall transition and material removal depth before adding more polishing labor.
Oxide folds, cold shuts and cracks are structural discontinuities, not stains. Blending their visible line may make inspection harder without restoring continuity. Reject or disposition these conditions under the casting standard and product risk. Cosmetic rework must never obscure a defect that affects load, sealing, electrical contact or safety.
Separate deburring, blending and cosmetic polishing
Operation | Intended result | Main risk | Acceptance evidence |
|---|---|---|---|
Deburring or edge break | Remove loose flash and sharp edges from specified handling or assembly zones | Excessive radius, media trapped in passages or damage to nearby datums | Edge condition, tactile check and dimensional verification where fit is nearby |
Gate or parting-line blending | Make a permitted process witness visually or tactually consistent with its zone | Low spots, waves, exposed pores and inconsistent transitions | Limit sample, contour check and viewing-condition inspection |
Directional brushing | Create a controlled grain direction on accessible decorative faces | Grain mismatch at corners, starts/stops and cavity-to-cavity variation | Approved direction, texture sample and part orientation |
Fine polishing or buffing | Reduce fine scratches and increase reflectivity on selected areas | Compound residue, heat, rounded features and amplified casting waves | Gloss/visual limit sample plus cleanliness and dimensional checks |
Mass finishing | Batch deburr or create a broadly uniform texture on compatible geometry | Part-on-part marks, edge loss, lodged media and uneven action in recesses | Media/process record, feature checks and representative batch sample |
These operations should not share one vague drawing note. "Polish all over" gives no basis for tool choice, cycle estimate or inspection. A hidden mounting face may need only loose-burr removal; a customer-facing bezel may need directional control and a physical appearance sample. Keeping the categories separate prevents cosmetic standards from being applied to functional or hidden surfaces.
Compare abrasive routes by the surface they create
Wheel and belt polishing are line-of-sight processes. They can blend a gate or create a directional surface, but pressure concentrates at edges and high points. The fixture must present the same face and angle on every cycle. A broad wheel also cannot follow a deep corner without touching adjacent geometry. If the finish requires one grain direction, tool travel and part orientation become controlled characteristics rather than operator preference.
Blasting impacts the surface instead of cutting it with a continuous wheel. The non-metallic blasting route can create a diffuse matte appearance and reach some complex areas, but media type, pressure, angle, distance, time and cleanliness change texture. Blasting may reveal pits and cannot level a pronounced mismatch. Mask sealing lands, bearing seats, threads and surfaces where embedded media or a changed profile would interfere with function.
Vibratory or centrifugal mass finishing moves parts and media together. Resin media can deburr and smooth compatible geometry with a different cutting action from steel or other metal media. The resin-media tumbling route may fit parts that can tolerate edge action and contact, while fragile fins, large cosmetic faces or media-trapping passages may make it unsuitable. Trial the actual load because part count, orientation and media condition affect contact marks and edge loss.
A process chain can use more than one route: controlled gate grinding, local belt blending, a broad matte blast and then coating, for example. More steps are justified only when each one has a defined job and the interfaces are clean. Mixing abrasive residues or changing the surface after pretreatment can undermine the final finish. Record the sequence so a substitute shop cannot remove, reorder or replace an operation without review.
Choose surfaces by product value and risk
Polish surfaces that the user sees or touches, or areas that need controlled blending before a named decorative finish. Keep stable as-cast surfaces where they already meet appearance and function. Precision datums, sealing lands, bearing bores, electrical contacts and gasket interfaces should use a process selected for their measurable function; polishing is not a substitute for CNC machining when flatness, position, size or sealing roughness drives acceptance.
Geometry determines access and consistency. Broad open faces are easier to treat uniformly than deep pockets, narrow grooves, rib roots, interrupted surfaces or crowded bosses. A wheel may cut more aggressively at edges and high points. Hand blending around letters, thin fins or sealing lands increases variation and masking effort. During DFM, map the tool approach and identify no-polish zones.
Place gates, overflows, ejectors and parting lines with the assembled view in mind. It is often cheaper and more repeatable to move an unavoidable witness to a hidden face than to erase it on every part. Where the tool layout cannot avoid a visible witness, specify the permitted blended footprint and retain enough local section to tolerate material removal.
Match polishing to the next finish
Polishing can prepare a visual substrate, but more gloss is not always better for coating adhesion. Paint, powder, conversion coating, plating and anodising require their own cleaning, pretreatment and surface profile. A buffing compound or embedded abrasive can interfere with cleaning or adhesion. A very smooth surface may need a different pretreatment than a mechanically keyed surface. The finish supplier should approve the preparation route rather than inherit an unspecified polished part.
Powder coating can visually level minor texture, yet it also follows waves, open pores and poorly blended edges. Liquid paint may reveal sanding scratches under a gloss topcoat. Decorative plating can magnify pits and substrate defects. High-silicon or copper-bearing die-casting alloys generally do not anodise with the colour uniformity associated with wrought cosmetic aluminium. Polishing cannot change the bulk chemistry that drives that response.
Use the aluminium die-casting finish comparison to shortlist downstream systems. Then run the complete sequence - polishing, cleaning, pretreatment, masking, coating and cure - on production-intent castings. Approving polished bare metal alone does not approve the coated result.
Understand what polishing cannot improve
Polishing does not add a protective barrier. Removing oxide and exposing fresh aluminium may temporarily brighten a part, but the surface will oxidise again and can stain or corrode in service. Corrosion performance depends on alloy, environment, crevices, dissimilar-metal contact, cleaning, conversion or coating system and damage in use. If protection matters, specify and validate a suitable finish after preparation.
Polishing also does not correct dimensional form. A sealing face that is warped remains warped after cosmetic buffing; aggressive local work can make flatness worse. A gate depression, sink or parting mismatch may require tool/process correction, localized machining or an agreed visible witness. Threads and precision holes need protection from abrasive rounding and residue.
Nor can polishing prove cleanliness. Compound can remain in pores, lettering, blind holes and crevices. Washing, rinsing and drying must be defined for the downstream finish or assembly. Where the product has strict cleanliness requirements, validate the cleaning method and inspection instead of treating a bright appearance as evidence.
Build a repeatable polishing process
Define the starting condition
Record the casting alloy and specification, tool revision, cavity, die surface condition, gate-trim condition and any CNC work before polishing. A polishing process qualified on one cavity may not transfer when another cavity has a different parting mismatch or texture. Incoming surface acceptance keeps the finishing cell from absorbing uncontrolled casting variation.
Lock the abrasive route
Define equipment, abrasive or media family, step order, accessible zones, direction, pressure or process window, fixturing, change interval and cleaning. Exact proprietary settings can remain in the supplier's work instruction, but the control plan should identify variables that affect appearance or dimensions. For mass finishing, include load, media condition, compound and part separation; for manual polishing, use operator training and boundary samples.
Protect functional features
Use masks, plugs, fixtures or no-contact zones for datums, sealing faces, holes, threads, lettering and thin edges. Recheck dimensions near polished transitions during qualification. If material removal is allowed on a function-related surface, give a measurable post-polish requirement rather than relying on visual approval.
Account for alloy and cavity response
Aluminium casting alloys do not all cut and finish identically. Silicon-rich constituents can influence abrasive response and the appearance of a fine polished surface; copper and other constituents can also affect colour and downstream corrosion behaviour. Keep the alloy and governing specification fixed during qualification. A commercially similar substitute can change cutting rate, exposed microstructure or coating appearance even when it runs in the same die.
Compare cavities separately. One cavity may have a slightly different texture, parting mismatch, cooling condition or gate trim. A common polishing time can then remove different amounts of material. Record the unpolished condition and the post-process result by cavity during trials. If a cavity needs exceptional rework, correct or maintain the tool instead of hiding the difference in a longer finishing cycle.
Inspect appearance and function separately
Visual inspection needs controlled lighting, distance, viewing angle, orientation and time. Define whether scratches, pits, flow traces, grain direction, waves, colour variation, gate/ejector marks and blend boundaries are allowed in each zone. Golden samples alone can drift; retain approved accept and reject limit samples with revision and storage controls. Photos can support communication but may not reproduce gloss or fine texture reliably.
Use instruments only where the number relates to function or appearance. Surface roughness can support a sealing, contact or defined texture requirement, but one Ra value does not describe gloss, waviness, grain direction or isolated pits. Gloss measurement can aid a coated visual standard, while contour or coordinate measurement protects shape. The inspection method must match what the customer perceives or what the part must do.
Inspect after the stage that defines acceptance. Polishing inspection finds process defects early; final inspection after coating catches scratches, pits, colour changes, rack marks and handling damage introduced later. Trace defects by tool cavity, polishing batch and finish batch so casting, preparation and coating causes are not mixed together.
Production release should include a short capability run under intended staffing, equipment and batch conditions. Confirm that abrasive wear, compound loading and part temperature do not create a drift from the approved limit samples. Establish when belts, wheels, compounds or media are changed and how the first parts after change are checked. A polished sample made with a fresh wheel does not establish the condition near the end of its controlled life.
Retain uncoated and fully finished reference parts where the coating can conceal or amplify preparation marks. The uncoated part helps diagnose the polishing stage; the coated limit shows what the customer receives. Both references should carry revision, cavity and process identity. This avoids turning every visual complaint into an argument between the casting, polishing and coating suppliers.
Calculate value from accepted finished parts
Polishing adds direct abrasive, labour, equipment, fixture, cleaning, handling and inspection cost. It can also lower accepted yield if hidden pores appear or a high-gloss surface makes small casting variation more visible. Complex geometry, many small cosmetic zones, sharp transitions and manual blending increase cycle variation. A full-part polish is rarely the lowest-cost answer when only one assembled face is visible.
Value is created when the operation supports a real acceptance criterion: consistent brand-facing appearance, comfortable hand contact, safe deburred edges or a qualified substrate for the final decorative route. It is not created by making hidden faces brighter. Compare the accepted finished-part cost, including casting losses and coating rework, rather than the polishing operation price alone.
For higher demand, consider whether tool polish, trim improvement, automated brushing, robotic presentation or a mass-finishing route can replace repeated hand blending. Automation is useful only when part location, starting surface and geometry are stable. It does not correct inconsistent castings; it reproduces the programmed process on whatever enters the cell.
RFQ inputs for polished aluminium castings
RFQ input | Decision enabled | Supplier response expected |
|---|---|---|
Revision-controlled drawing and 3D model | Zone boundaries, access, edge and datum protection | Marked DFM and proposed process by zone |
Assembled view and cosmetic classes | Which faces justify polishing and inspection | Gate/ejector/parting implications and allowed witnesses |
Accept/reject samples and viewing conditions | Scratch, pit, grain, wave and gloss limits | Inspection method, sampling and sample control |
Functional surfaces and post-polish dimensions | No-polish masks, machining and material-removal limits | Fixture, protection and measurement plan |
Final finish and service environment | Compatible preparation, cleaning and corrosion system | Complete sequence, subcontract boundaries and validation tests |
Demand range, batch size and packaging | Manual, automated or mass-finishing scenarios | Accepted-part cost assumptions, capacity and scratch protection |
Ask the supplier to return exclusions. The quote should state whether it includes gate blending, deburring, sanding steps, buffing, cleaning, masking, coating, cosmetic inspection and protective packaging. It should identify surfaces that cannot be reached consistently and features at risk from edge rounding or media entrapment. The surface-finish specification guide provides a broader framework for these drawing and sample controls.
Buyer decision
Specify polishing when a defined visible, touched or downstream-finish surface gains measurable value from controlled abrasion. First stabilise the casting and trimming condition. Then map cosmetic and no-polish zones, select an accessible process, protect functional features, qualify cleaning and the final coating, and approve samples under controlled viewing conditions. Do not use polishing to conceal casting defects or as evidence of corrosion protection. The best result is an accepted finished part with traceable surface controls, not the brightest loose sample.
FAQ